February 26, 2025
What is exposure in an interchangeable-lens camera? Elements that determine exposure and how to use exposure compensation
What is exposure in an interchangeable-lens camera? Elements that determine exposure and how to use exposure compensation

Photography involves many elements, but "exposure" is one of the essential factors that greatly influences the impression of a photo. By setting the correct exposure, you can get closer to your intended photographic expression. In this article, we will explain the basics of exposure and its practical use.
What is exposure?

Exposure refers to the amount of light that is captured by the camera's image sensor. Only with proper exposure can the subject be naturally represented in a photograph. For example, if exposure is too high, the photo will become overly bright and washed out, while too little exposure will result in a dark, hard-to-see image.
On the other hand, exposure also plays a role in changing the mood of a photo by adjusting the amount of light. For example, with the same landscape shot, adjusting the exposure can create various effects, from a soft, misty morning atmosphere to a dramatic sunset impression.
What is proper exposure?
There are two concepts of exposure: "standard exposure" and "proper exposure." Standard exposure refers to the exposure set automatically by the camera, designed to express the subject with natural brightness. Technically, the camera determines exposure based on an 18% gray reference, and the exposure that accurately represents this gray is called standard exposure.
On the other hand, proper exposure refers to the exposure chosen by the photographer, based on the brightness they want to express. For example, "shooting a sunset scene darker than it actually is to emphasize the sunset's impression" or "brightening the photo to highlight the transparency of a person" are examples of intentional exposure, which the photographer chooses as their "proper exposure."
Underexposure and Low-Key

Underexposure refers to the condition where the exposure is insufficient, resulting in an overall dark image. For example, when photographing a person against strong backlighting, their face may appear too dark. This can be corrected by adjusting the exposure or applying exposure compensation to brighten the image.
In contrast, "low-key" is a deliberate expression technique where a darker exposure is chosen. For example, when photographing night scenes or portraits, a low-key exposure creates a chic, calm atmosphere.
Overexposure and High-Key
Overexposure refers to the condition where the exposure is excessive, resulting in an overall overly bright image. A typical example is when photographing a landscape under bright sunlight at noon, where the areas reflecting the sunlight turn completely white. As with underexposure, adjusting the exposure or applying compensation to darken the image can bring it closer to proper exposure.
On the other hand, "high-key" is an expression technique where exposure is intentionally brightened to create a fresh, transparent atmosphere. For example, in flower or child portrait photography, shooting with a slightly brighter exposure produces a soft and gentle impression.
The three elements that determine exposure

To achieve proper exposure, you need to balance three elements: aperture (F-number), shutter speed, and ISO sensitivity. Below, we introduce the role and relationship of each element.
Aperture (F-number)
Aperture (F-number) is the numerical value indicating the size of the lens opening. F-number is calculated by dividing the lens’s focal length (f) by its effective diameter (D) (F-number = f ÷ D). Therefore, by reducing the F-number (opening the aperture), the effective diameter increases, allowing more light to enter the lens, which results in a brighter photo.
Additionally, reducing the F-number decreases the depth of field, making the background blur more. For example, in portrait photography, using a wide aperture (such as F2 or F2.8) can make the subject stand out against a beautifully blurred background. In contrast, in landscape photography, stopping down to F8 enables sharp focus from the foreground flowers to the distant mountains.
Shutter Speed
Shutter speed refers to the amount of time the shutter is open, in other words, how long the image sensor is exposed to light. A fast shutter speed captures less light but results in sharper images with less blur. On the other hand, slower shutter speeds allow more light but can result in noticeable camera shake or subject blur.
For example, when photographing fast-moving subjects like sports or animals, a shutter speed of 1/250 seconds to 1/500 seconds or higher is recommended. Conversely, in dimly lit environments, such as indoors or during sunset, slower shutter speeds like 1 second to 1/60 seconds are used to ensure proper exposure.
ISO Sensitivity
ISO sensitivity refers to the sensor’s sensitivity to light. Increasing the ISO sensitivity allows for brighter photos in low-light conditions. However, too high an ISO can result in noticeable image noise. Therefore, it is generally advisable to shoot with a low ISO and increase it if the image appears too dark, adjusting based on the desired image quality.
A typical guideline is ISO 100 to ISO 400 for outdoor shots on sunny days, and ISO 800 to ISO 3200 for indoor or low-light shooting.
Interchangeable-lens camera shooting modes
Interchangeable-lens cameras offer several automatic exposure functions that can be used depending on the situation.
Aperture priority mode
This mode is ideal when you want to emphasize the background blur in landscape or portrait photography.
Shutter priority mode
This mode is useful for photographing moving subjects, such as sports or wildlife.
For scenes with large contrasts in brightness, such as nightscapes or starry skies, where automatic exposure adjustment is difficult, use manual mode to fine-tune exposure settings. Each mode has its appropriate scene or subject, so try experimenting with different settings.
What is exposure compensation?
Exposure compensation is a function that intentionally adjusts the standard exposure set by the camera, either brightening or darkening it. This is particularly useful in scenes with large contrasts in brightness, such as snowy landscapes or black subjects, where the camera struggles to set proper exposure automatically. For example, +1 EV will brighten the image by one stop, while -1 EV will darken it by one stop.
Scenes where exposure compensation is needed
In certain shooting environments or with specific subjects, the camera’s automatic exposure may not achieve the desired brightness. In such cases, check the captured images and apply the appropriate exposure compensation. Below, we provide examples of exposure compensation for various scenes.
Positive exposure compensation

Positive exposure compensation is used when the subject appears too dark. For example, when photographing a person against backlighting, their face often becomes too dark. In such cases, adding positive exposure compensation brightens the image to capture the natural skin tone.
In snowy scenes, the camera’s automatic exposure tends to set the exposure too low. To naturally express the whiteness of the snow, adding positive exposure compensation is recommended.
As mentioned earlier, the exposure reference is based on 18% gray. Automatic exposure adjusts to this, and in the case of white subjects like snow, exposure compensation may make the snow appear grayish, resulting in an underexposed image.
By intentionally adding positive exposure compensation, you can create a fresh, soft atmosphere.
Negative exposure compensation

Negative exposure compensation is used to prevent overexposure of bright areas. For example, in outdoor shooting on a sunny day or in scenes with strong artificial lighting, negative compensation can prevent highlight clipping.
Additionally, for dramatic sunset or sunrise shots, negative compensation helps emphasize the richness of the sky’s colors and shadows. In cases where bright sunlight causes the blue sky to appear washed out, negative exposure compensation helps achieve a deeper, more vibrant blue sky.
When photographing black subjects, negative compensation can help maintain the richness of black tones, as these subjects tend to appear lighter in photos. Like white subjects, black subjects can appear gray if exposure compensation is not properly applied.
In creative applications, intentionally using negative exposure compensation can create a more subdued atmosphere. For example, adding negative compensation in morning landscape photography can enhance the sense of quiet, while using it for monochrome architectural photography can emphasize contrasts and shadows.
Exposure settings and compensation guidelines for different scenes
To achieve proper exposure in various shooting situations, adjusting exposure settings and compensation according to the conditions is essential. Below are examples of exposure compensation for different scenes.
Backlit scenes

For backlit scenes, adjust exposure settings depending on the strength of the light and the intended expression. When incorporating sunlight into the composition, use positive compensation to properly expose the darkened details of the subject, such as facial expressions or the details of backlit objects.
If you want to create silhouettes during sunrise or sunset, apply negative compensation to contrast the vibrant sky gradients with the darkened silhouettes.
Bright light shooting

Shooting under strong light, such as midday sunlight, can easily lead to overexposure. Be cautious, especially when photographing the sky or white buildings. Use negative compensation to prevent highlight clipping while maintaining contrast.
In reflective scenes like sandy beaches or urban areas with strong light reflection, use negative compensation to preserve the details in the bright areas while maintaining shadows.
Shooting in low light

In indoor or dimly lit environments like during sunset, the exposure often becomes insufficient. In such cases, first try opening the aperture or using slower shutter speeds to increase exposure. If it’s still too dark, increase ISO sensitivity or apply positive compensation to brighten the image. When using slower shutter speeds, such as 1/60 seconds or slower, a tripod is recommended to avoid camera shake.
Night photography

Night photography often involves large differences in brightness between bright light sources and dark areas. Use a tripod and set the ISO sensitivity to a low level while adjusting the shutter speed to a slower setting. For dim lights in the street or buildings, use positive compensation to maintain brightness.
When photographing light trails from car headlights, use longer exposures (1 to 30 seconds) to capture longer trails and create an effect of flowing light across the road.
Control exposure to take beautiful photos
By understanding the basics of exposure and appropriately adjusting the aperture, shutter speed, and ISO sensitivity, you can achieve richer photographic expression. Exposure compensation allows you to capture the desired brightness and mood in your photos. Start with the basic settings and gradually expand your creative expression.

Lens Featured in this Impression
-

-
20-40mm F/2.8 Di III VXD a062(Model )
The 20-40mm F/2.8 Di III VXD (Model A062) is a new large-aperture standard zoom lens that thoroughly pursues portability. While covering the range from the ultra-wide angle of 20mm to the standard range of 40mm, it is the smallest and lightest in its class. It also offers high image quality throughout the entire zoom range, making it useful not only for still image shooting but also for video recording such as vlogging. The VXD, which is quiet and agile, achieves high-speed, high-precision autofocusing. It is a new, unprecedented large-aperture standard zoom lens that allows users to easily enjoy taking out and shooting both still and video.
-
-
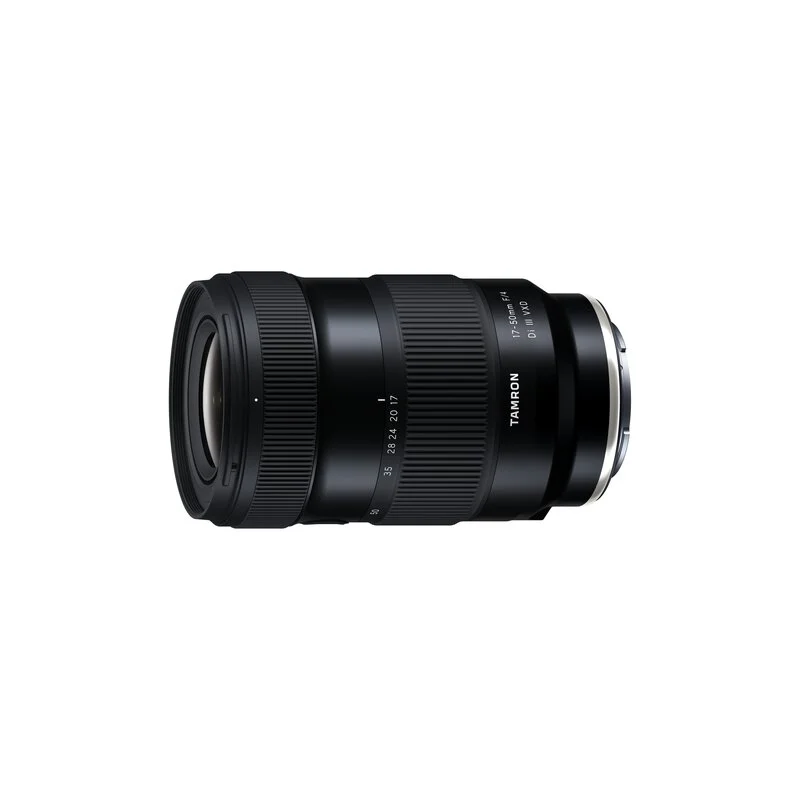
17-50mm F/4 Di III VXD a068(Model )
It's the world’s first lens covering from ultra wide-angle 17mm to the standard 50mm focal length. The highly-compact TAMRON 17-50mm F/4 Di III VXD (Model A068) for Sony E-mount full-frame mirrorless cameras offers maximum versatility for still and video creators. From landscapes to living rooms, this lens captures all that you see.
-

-
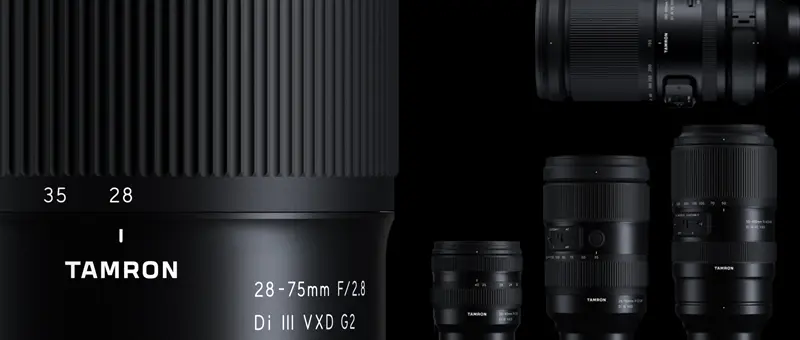
28-75mm F/2.8 Di III VXD G2 a063(Model )
Product Page | 28-75mm F/2.8 Di III VXD G2 (Model A063) is the second-generation fast-aperture standard zoom lens for Sony and Nikon full-frame mirrorless cameras, offering significantly improved optical and autofocus performance and new function customization.
-
-
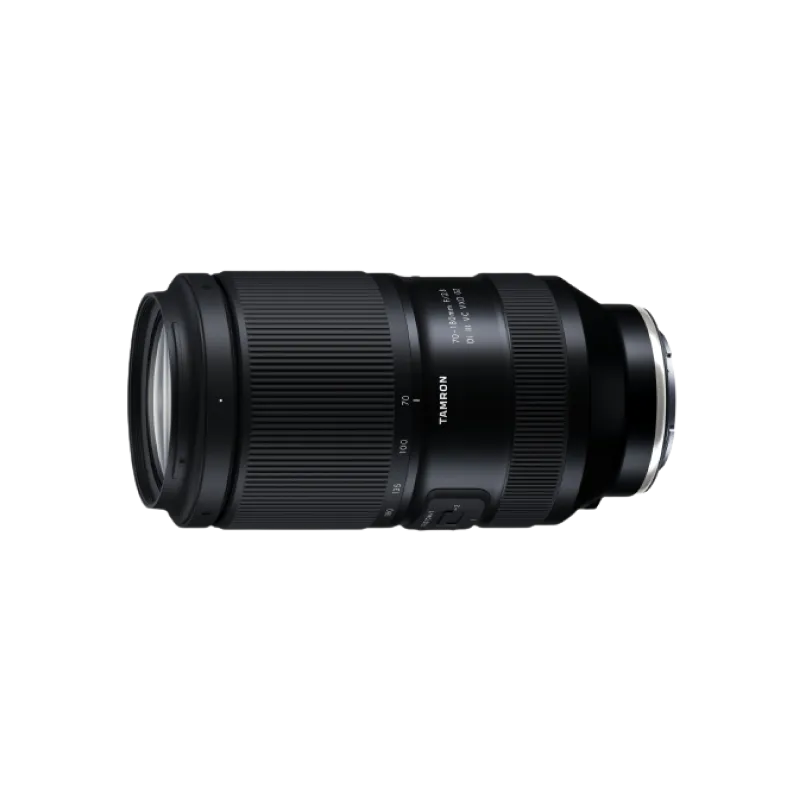
70-180mm F/2.8 Di III VC VXD G2 a065(Model )
70-180mm F/2.8 Di III VC VXD G2 (Model A065) has evolved to G2 level.This is the world’s smallest and lightest, fast-aperture telephoto zoom lens for Sony E-mount with astounding portability and superb image quality.
-

-
28-200mm F/2.8-5.6 Di III RXD a071(Model )
Tamron has distilled all the technical capabilities and know-how amassed over the last 28 years in its development of all-in-one zoom lenses into the creation of this 28-200mm F/2.8-5.6 Di III RXD (Model A071), designed exclusively. The lens has a large maximum aperture of F2.8 at 28mm wide end, which represents a world’s first* for all-in-one zoom lenses, and delivers high-level performance across the entire zoom range, from the 28mm wide-angle end to 200mm telephoto.