January 31, 2025
[Food and cuisine photography] Tips for taking delicious-looking photos
[Food and cuisine photography] Tips for taking delicious-looking photos
![[Food and cuisine photography] Tips for taking delicious-looking photos](/global/consumer/article_file/file/article-how-to-take-delicious-looking-food-photos-en/01-en.webp "[Food and cuisine photography] Tips for taking delicious-looking photos")
Whether it's a home-cooked meal, a meal at a restaurant or on a trip, or fresh ingredients, when food is beautiful and delicious, you can't help but take photos to share the excitement. However, even if the food looks delicious, if the photo is dark or flat, it will not be able to convey its appeal well. In this article, we will introduce some basic tips for beginners to take attractive photos of food.
Points for taking delicious-looking photos of food

In food photography, it is necessary to bring out the original appeal of the food to the fullest. The first thing that is important is the direction and strength of the light, and ensuring that the photo is sufficiently bright.
By using natural light such as from a window, you can naturally express the color and texture of the food. In particular, the soft light of the morning and evening is ideal for making food look beautiful. On the other hand, if the room is dark, you can use a strobe or reflector to compensate for the exposure when taking serious photos.
Also, since light hitting the food from the front tends to give a flat impression, applying light from above or from the side creates a three-dimensional effect. Similarly, it is important to create a sharp photo by devising a composition.
In addition, choosing the right background is also an important element in highlighting the food. For example, choosing a simple white or beige background will naturally draw attention to the food. The timing of the photo is also important, so don't miss the moment when the steam and warmth of the food is conveyed immediately after cooking, and when the freshness of the ingredients stands out.
From here, we will introduce specific shooting tips and lens selection points based on these points.
Shooting with a standard lens
For food photography, a zoom lens with a standard range of about 50mm or so is effective. This is because the standard range of angle of view can reproduce a natural perspective close to the effective field of view of the human eye, allowing you to take food photos that don't look out of place.
Furthermore, if you choose a lens with a small maximum aperture of about F2.8, it will be easier to take bright photos even in a dark room, and you can create beautiful images that make use of the background blur. In addition, since tables and dining tables often have limited space, a lens with a short minimum shooting distance is recommended. If you want to get a close-up look at the texture and details of the ingredients, using a macro lens will expand your range of expression.
Setting the exposure appropriately
The key to beautiful food photography is to set the exposure appropriately. If it is too bright, the color of the food will be washed out, and if it is too dark, the texture of the ingredients will be lost. You need to respond flexibly depending on the type of food and the shooting environment. Let's take a closer look at each setting.
Shooting mode
When taking food photos, it is a good idea to use aperture priority mode. By adjusting the F-number (aperture value), you can control the blur of the background and make the food stand out. The shutter speed is automatically adjusted to achieve the correct exposure, so you can concentrate on taking the photo.
F-number (aperture value)
When taking a photo of the entire food lined up on the table, a slightly narrower setting of F8 to F11 will allow you to capture a sharp image from the front to the back. On the other hand, if you want to emphasize the main ingredients or the presentation, you can set the aperture to F2.8 to F4, which is close to the maximum aperture, to highlight the main subject. As for the focal position, you can create a natural sense of depth by focusing on a position about 1/3 of the way from the front of the food.
Shutter speed
When shooting handheld, it is a good idea to start with 1/60 or 1/125 seconds. While checking the photo, increase the shutter speed if you want it to look sharper. If you use a tripod or something to secure the exposure, you can use a slower shutter speed to ensure stable shooting.
ISO sensitivity
For delicious food photos, it is important to reproduce the color and texture of the ingredients. First, set the ISO sensitivity low and focus on a clear image. If the brightness is insufficient in a dark room, try increasing the ISO sensitivity to around 800 to 1600 and check the results.
Exposure compensation
If the surface of the food is difficult to see due to backlighting, try adding exposure compensation of around +0.3EV to +0.7EV. On the other hand, if the light is too strong and the white tableware is overexposed, adjust the brightness to an appropriate level with exposure compensation of -0.3EV to -0.7EV. If you are using dark tableware, adding a slightly positive exposure compensation will bring out the texture of the food.
Setting the white balance

To naturally express the color of the food, it is essential to set the appropriate white balance. First, try shooting with the camera's auto white balance.
On the other hand, depending on the type of lighting and the environment, the color may differ from the actual appearance. In that case, adjust the white balance to match the main light source. By setting the light source to the actual light source, such as sunlight if shooting by a window, or fluorescent or incandescent lights if shooting inside a restaurant, you can reproduce colors closer to the actual appearance.
If there is a color you like, you can try setting the white balance to emphasize red or blue.
Enhancing the impression of the food with bokeh
By effectively using background bokeh, you can further enhance the appeal of the food. Shooting with a nearly open aperture will blur the background and draw attention to the main dish.
Also, to express the three-dimensionality of a dish, it is effective to vary the amount of blur from the foreground to the background. For example, in a pasta dish served on an oval plate, focusing on the ingredients in the foreground and gradually blurring them toward the background will create a powerful impression.
Creating a three-dimensional effect with backlighting or semi-backlighting
The direction and strength of light are important factors in conveying the liveliness of food and cuisine. Front lighting, where light hits the food from the front, tends to make the food appear flat, and the sizzle and three-dimensionality that makes it appetizing is often lost.
Instead, try shooting with backlighting or semi-backlighting. Shooting with backlighting creates a beautiful light border around the outline of the food, emphasizing the three-dimensionality of the entire dish.
Semi-backlighting (light coming from behind at an angle) also emphasizes the texture of the surface of the ingredients, effectively expressing their texture and shine. However, backlit or semi-backlit scenes can make the foreground look dark, so you may need to use a reflector to add reflected light or adjust the exposure.
Add definition to your composition with close-ups and angles
The appeal of food photography and food can also be expressed through composition. For example, a bird's-eye view from directly above is particularly effective in scenes where multiple dishes are lined up, such as a Japanese meal or full course meal.
Shooting from a 45-degree angle is also a versatile angle. Shooting from above at an angle gives the food a natural depth and three-dimensional feel, allowing you to take photos with an angle that makes you feel as if you are there.
On the other hand, when photographing a single dish, try to focus on the food itself and make it larger, rather than capturing the entire dish. If you capture the entire edge of the plate, it will inevitably look inorganic and flat, like a record photo. Instead, getting closer to the food will emphasize the texture and three-dimensionality of the ingredients, resulting in an appetizing photo.
In addition, it is also a good idea to know diagonal and triangular composition as basic composition techniques. Diagonal composition is a composition in which food and tableware are placed on the diagonal of the screen, which gives the photo a sense of stability, depth, and dynamism. Triangular composition is a composition in which the elements on the screen are arranged to form a triangle, which gives the effect of naturally drawing the eye to the entire dish and creates a sense of balance.
It is also recommended to shoot tall dishes such as hamburgers and parfaits at a low angle, as if looking up at them. This will dynamically express their presence and power.
In this way, while identifying the characteristics of the dish, try to think about which angle and position will bring out its appeal.
Use reflectors and strobes
If you are trying to take more serious food photos, we recommend using reflectors and strobes. A white reflector helps brighten the shadows in the foreground that are easily created by backlighting or semi-backlighting. Also, using a silver reflector will give you a stronger reflected light, making it easier to express the sparkle of the surface of fish or the water droplets on fruit.
A strobe is effective in creating natural light in a dark environment. By pointing the strobe upwards and using indirect light reflected off the ceiling or other surfaces, you can create natural shadows. On the other hand, direct light can be too strong and can create an unnatural impression, so be careful.
Let's actually take food photos!
From here, we will introduce how to take photos of different types of food and dishes. Effective shooting methods vary depending on the type, color, and texture of the food. Let's check out these differences.
Meat and fish dishes
When photographing meat and fish dishes, if you can express the grill marks, texture of the grill surface, and the gloss of teriyaki, you can create a very appetizing photo.
Shoot from an angle diagonally above to express the unevenness and three-dimensionality of the surface. Garnish vegetables are also important elements in terms of color, so be conscious of how you hit the light so that they appear colorful.
Shooting the main dish against the light will beautifully express the luster of the sauce and the shine of the meat's surface. Also, capturing the steam and smoke from the freshly cooked food will capture the warmth and aroma of the freshly cooked food.
Vegetables and Fruits
When shooting vegetables and fruits, try to express their freshness and juiciness. Intentionally creating water droplets and condensation will emphasize the freshness. For cut fruits, look for an angle that highlights the beauty of the cross section and let the light pass through to express the transparency of the flesh.
In particular, citrus fruits such as mandarins and grapefruits can be photographed against the light to more impressively express the freshness and vibrant colors of the flesh.
Steaming Appearance
You can feel the temperature of steaming food even through the photo. To capture the steam clearly, prepare a dark background or dish, such as black or dark blue. By shooting with backlighting, you can express the rising steam in a fantastic way.
Also, since the shape of the steam changes from moment to moment, it is recommended to take multiple shots in a burst and choose the most beautiful moment. Setting the shutter speed to 1/125 seconds or faster will allow you to capture the shape of the steam sharply.
Sweets and Cafes

When photographing cafe menus and sweets, try to take advantage of the characteristics of the drinks, sweets, and containers and devise a way to take the shot. For example, taking a photo of latte art from directly above will allow you to capture the details of the design.
By allowing light to pass through a glass drink, you can beautifully bring out the texture of the ice and bubbles, as well as the color and refreshing feeling of the drink. Also, by being conscious of the composition that makes use of the shape of the cup or glass, you can create a more atmospheric photo.
In addition, by using a macro lens, you can capture details more impressively and try various expressions.
How to choose the right lens for photographing food
From here, we will introduce how to choose the best lens for food and food photography.
Focal length
The basic focal length for food photography is about 35mm to about 100mm. In particular, a standard lens of about 50mm can capture a natural angle of view close to the field of view that humans normally see, so you can capture an atmosphere close to the impression in front of you.
Also, using a macro lens allows you to capture the texture and details of ingredients in a large size, expanding the range of expression.
Maximum aperture
Lens with a small maximum aperture makes it easier to take brighter photos even in dark places such as dimly lit restaurants. It also creates a smooth background blur, making the food stand out more impressively.
Minimum shooting distance
In food photography, close-up shots on the table are common, so a lens with a short minimum shooting distance is recommended. The shorter the minimum shooting distance, the closer you can get to the subject and the more detailed the food can be captured. In addition, even if the photographer has limited space to move around, you can take more diverse compositions because you have more freedom to zoom in and out.
Lightweight and compact
Lightweight and compact lenses are useful when taking photos when eating out or traveling. Large, heavy lenses are not only difficult to carry, but they can also be a concern for people around you when using them in restaurants or cafes. Even in stores where you are used to taking photos, it is safer to avoid using equipment that is too extravagant. Compact lenses are easy to handle in tight spaces and allow smooth shooting at various angles.
Autofocus (AF) performance
Food photography is often done in dark rooms, so we recommend a lens that can accurately focus even in relatively dark places. It is also desirable to have a lens that can smoothly focus on the target subject even in an environment where many subjects are lined up in a complex manner. It is also a good idea to check the operability of the manual focus in case more delicate focusing is required, such as macro photography.
Image stabilization mechanism
Since food photos taken as a snapshot are basically taken handheld, check whether or not the camera has an image stabilization mechanism. Especially when shooting in a dark room, it is necessary to set the shutter speed to a slower speed, so an image stabilization function will allow for stable shooting.
Be aware of the exposure and direction of the light to take delicious photos of your food!
When photographing food and food, appropriate exposure settings and the strength and direction of the light are important elements. By making good use of natural light and being mindful of shooting in backlight or semi-backlight, you can bring out the texture and three-dimensionality of the food. You can also take advantage of the characteristics of the lens to create bokeh effects and find an angle that suits the food, resulting in a more attractive shot.

Lens Featured in this Impression
-
-
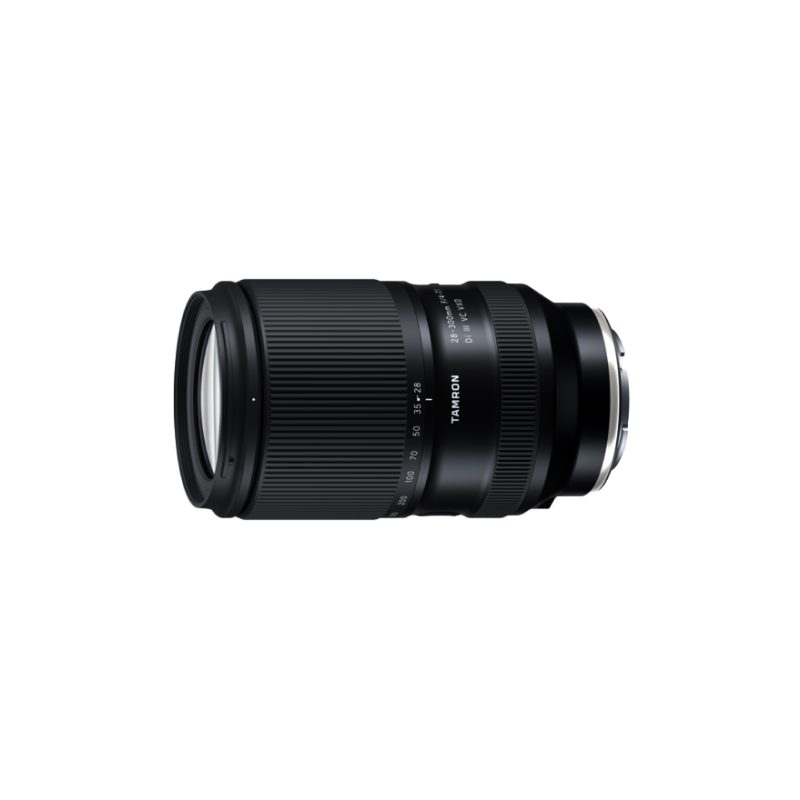
28-300mm F/4-7.1 Di III VC VXD a074(Model )
28-300mm F/4-7.1 Di III VC VXD (Model A074) is a compact and versatile all-in-one 10.7x zoom lens for Sony E-mount. The lens boasts class-leading high image quality, and is equipped with high-speed AF VXD and VC. Go from wide-angle to long telephoto in an instant and capture every moment of the world around you.
-

-
20-40mm F/2.8 Di III VXD a062(Model )
The 20-40mm F/2.8 Di III VXD (Model A062) is a new large-aperture standard zoom lens that thoroughly pursues portability. While covering the range from the ultra-wide angle of 20mm to the standard range of 40mm, it is the smallest and lightest in its class. It also offers high image quality throughout the entire zoom range, making it useful not only for still image shooting but also for video recording such as vlogging. The VXD, which is quiet and agile, achieves high-speed, high-precision autofocusing. It is a new, unprecedented large-aperture standard zoom lens that allows users to easily enjoy taking out and shooting both still and video.
-

-
35mm F/2.8 Di III OSD M1:2 f053(Model )
The 35mm F/2.8 Di III OSD M1:2 is an F/2.8 large aperture fixed focal lens. The MOD (Minimum Object Distance) is 0.15m. You can enjoy the beautiful bokeh that brings out the subject.
-

-
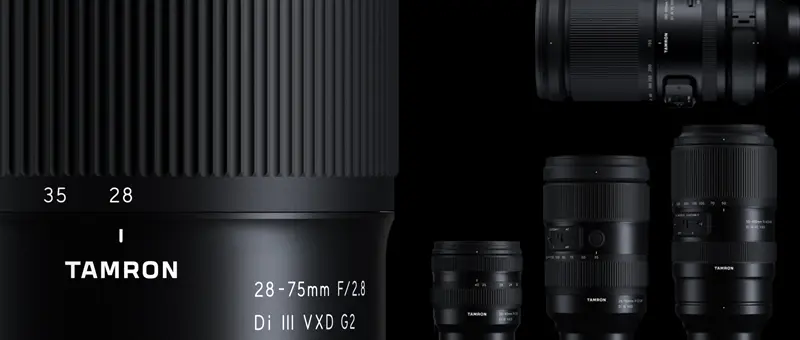
28-75mm F/2.8 Di III VXD G2 a063(Model )
Product Page | 28-75mm F/2.8 Di III VXD G2 (Model A063) is the second-generation fast-aperture standard zoom lens for Sony and Nikon full-frame mirrorless cameras, offering significantly improved optical and autofocus performance and new function customization.
-
-
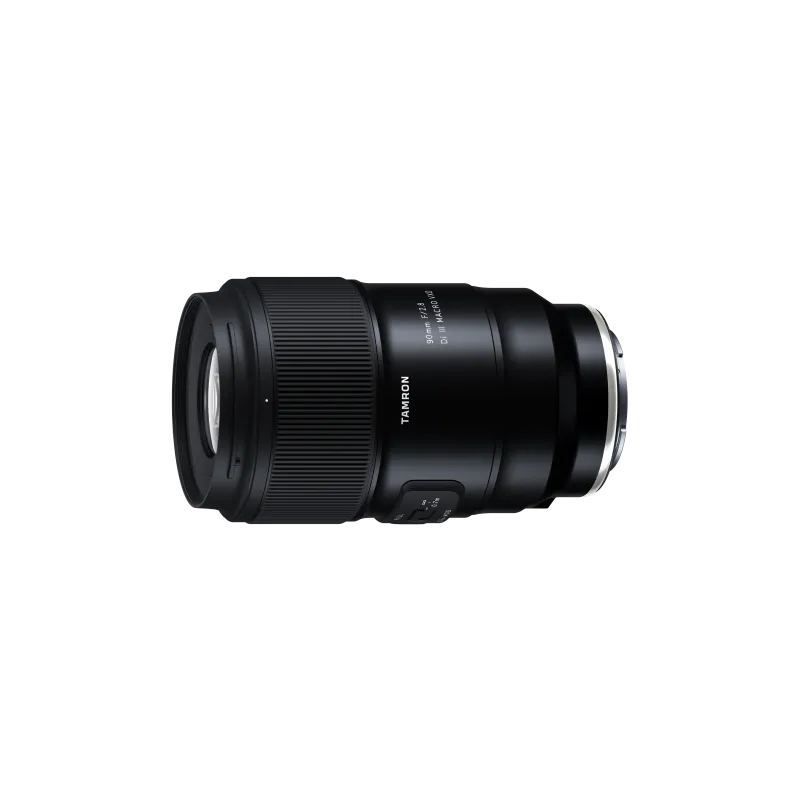
90mm F/2.8 Di III MACRO VXD f072(Model )
The 90mm F/2.8 Di III MACRO VXD (Model F072) is the mirrorless version of the TAMRON 90mm macro lens, beloved for many years. It offers outstanding resolution and optical performance, featuring TAMRON’s first 12-blade circular aperture for stunning bokeh and starburst effects. Its lightweight, compact design ensures easy portability, and the new hood with sliding window simplifies filter use. The lens is also compatible with TAMRON Lens Utility™ and has high-speed, high-precision AF, expanding possibilities for photography and videography. This lens blends TAMRON's legacy of brilliance with advanced technology, marking a new chapter in the 90mm macro lens history.