January 31, 2025
How to shoot night views: Tips for capturing beautiful night photography
How to shoot night views: Tips for capturing beautiful night photography

The appeal of nightscape photography lies in capturing the beautiful scenes of a city that reveal a different face at night compared to during the day. However, shooting in an environment with a mix of overall darkness and complex light sources can be challenging for many. In this article, we will provide basic knowledge and tips for capturing beautiful nightscapes, including scene-specific methods.
Equipment needed for nightscape photography
To capture beautiful nightscapes, it is necessary to prepare the appropriate lenses and gear. Below, we introduce the equipment required for nightscape photography and key points to consider when selecting them.
Wide Angle lenses and Telephoto lenses
Choosing the right lens for nightscape photography is essential for achieving your desired effect.
For capturing wide views of the nightscape, a Wide Angle lens is recommended. Using a Wide Angle lens allows you to capture the dynamic spread of the landscape and the entire scene in front of you. On the other hand, when photographing distant subjects such as airplanes or building details, a telephoto lens is ideal.
Additionally, it’s best to use lenses with a smaller aperture value (e.g., F2.8 or F4). A smaller aperture allows more light to be captured in dark environments, making it easier to take brighter photos. Shooting with a wide aperture also allows for easier inclusion of bokeh.
Tripod
A tripod is essential for nightscape photography. To capture sharp images with the right exposure, you often need to use slower shutter speeds. A stable tripod ensures that the camera remains firmly fixed, making it useful for such situations.
When selecting a tripod, you should not only check for stability but also consider portability, lightness, and compactness. Make sure to check how easily it can be stored for travel and how convenient it is to use on-site.
Shutter release / remote shutter
When shooting with slow shutter speeds, even the slightest vibration from pressing the shutter button can cause blurriness. Using a shutter release or remote shutter allows you to trigger the shutter without touching the camera directly.
How to capture beautiful nightscapes
In nightscape photography, it’s crucial to first understand how to adjust exposure settings. Once you have this knowledge, you can refine your photos by experimenting with composition and other settings to match the image you want to capture. Below, we explain the basics of exposure settings and offer examples of how to apply them.
Set Proper exposure
Nightscapes consist of both bright light sources and dark areas, making it challenging to achieve the right exposure. Below are some recommended exposure settings for nightscape photography.
Shooting mode
For night photography, it's best to use Aperture Priority or Manual mode. In Aperture Priority mode, slightly closing the aperture (e.g., F8 to F11) helps render sharp light sources. Automatic exposure may not always provide the expression you want, so Manual mode is a useful option. This is especially true for capturing changing light, such as car headlights or shooting during the Magic Hour, where light changes constantly.
F-number (Aperture value)
Changing the aperture value allows you to adjust the amount of bokeh. For example, by using a smaller aperture (e.g., F8 or F11), you can capture the entire nightscape sharply.
When combining a subject with the nightscape in portraits, use a wide-open aperture to create background bokeh, which helps highlight the subject. It also allows you to capture light sources in the background as bokeh.
Shutter speed
To properly capture the light of a nightscape, slower shutter speeds are often required. When using a tripod, a shutter speed of around 5 to 10 seconds is ideal, allowing you to capture city lights in vivid detail.
If a tripod cannot be used, and you must shoot handheld, aim for a shutter speed between 1/30 second and 1/60 second to avoid camera shake. Be sure to hold the camera steady to minimize shake.
ISO Sensitivity
For nightscape photography, keeping the ISO sensitivity low helps reduce noise, resulting in clearer, sharper light expressions. However, if you are shooting handheld and need faster shutter speeds, you may need to increase the ISO. In that case, setting the ISO to around 3200 can work as a general guideline.
Exposure compensation
When shooting nightscapes with automatic exposure, bright light sources may get overexposed. In such cases, apply slight negative exposure compensation and shoot at a lower exposure. This is especially useful when capturing scenes with many lights, such as illuminations, where reducing exposure can make the light sources stand out more.
Adjusting white balance for color
Nightscapes often feature a variety of light sources, such as street lamps, neon signs, and building lights. By adjusting the white balance, you can alter the mood of the photo.
When shooting in an unfamiliar location, start by using the auto white balance setting. As you become more familiar with the scene, you can adjust the white balance to match the desired effect. For example, using the tungsten or fluorescent setting emphasizes cool blues, creating an urban and cool atmosphere. Conversely, setting it to cloudy can emphasize the warm light of street lamps, creating a more atmospheric feeling.
If shooting in RAW, you can adjust the white balance more flexibly during post-processing. For more professional work, shooting in both JPEG and RAW is recommended.
Find a composition that enhances perspective

To fully capture the charm of nightscapes, it's important to utilize perspective. For example, when shooting from a high vantage point, such as a tall building or observation deck, you can capture the city lights in a geometric pattern from above.
When photographing buildings, considering the vanishing point of vertical lines can be an effective compositional tool. For instance, shooting a skyscraper from a low angle will create a striking image where the lines of the building converge at the top. Additionally, placing objects like street trees, street lamps, or monuments in the foreground can help create depth and a sense of scale.
Tips for handheld shooting
While tripod use is essential for night photography, handheld shooting may be necessary in places where a tripod isn't allowed. Here are some tips for handheld shooting.
To minimize shake, hold the camera firmly with your elbows close to your body and keep the camera near your face. Be mindful of your breathing, and shoot at the moment when you exhale.
Using continuous shooting mode is also effective. Take 3 to 5 consecutive shots of the same scene and choose the one with the least amount of blur.
Additionally, choose a lens with a small aperture to allow for slower shutter speeds, and use a lens with built-in image stabilization to reduce shake.
Nightscape photography tips for specific scenes
Now, let's explore specific tips for shooting various types of nightscapes.
City building nightscapes

The city skyline is one of the most popular subjects for nightscape photography. Using a Wide Angle lens (or an Ultra Wide-Angle lens) allows you to capture the grandeur of the cityscape. It’s best to shoot from a location with a high vantage point.
When shooting from ground level, a low-angle shot emphasizes the height of the buildings. For glass buildings, include the surrounding reflections in the shot.
To enhance the richness of the image, shoot during the Magic Hour, just after sunset or just before sunrise, when the orange sky and the sharp lights of the buildings create a beautiful contrast.
Factory nightscapes
Factory nightscapes have a unique beauty, with lit-up pipelines, massive tanks, and smokestacks creating a futuristic atmosphere. When photographing factories, carefully compose the shot to balance the characteristic lines and structures within the frame. Using the rule of thirds can help you achieve a well-balanced composition.
Additionally, using long exposure times (15 to 30 seconds) can help express the movement of steam and smoke as white, translucent streaks.
Nighttime portraits

For portraits with a nightscape in the background, using a wide-open aperture helps create beautiful bokeh in the background, making the subject stand out.
However, the subject may appear dark against the night backdrop. If you want to capture the subject's expression clearly, use a flash or other fill light. Using a telephoto lens for a portrait can also help compress the background and make the subject appear more dramatic.
Nightscapes with airplanes
At night, airports offer the opportunity to capture beautiful nightscapes with airplanes taking off or landing against a backdrop of city lights. Using a telephoto lens, look for an angle that allows you to capture both the airplane and the city lights.
By utilizing the compression effect of the telephoto lens, you can create the impression that the airplane and the distant city lights are closer together. This technique conveys not only beauty but also the drama and scale of the airplane's takeoff.
Creating starbursts

In nightscape photography, creating starbursts from light sources is an impressive way to express light. To achieve this effect, use an aperture of F11 to F16. Narrowing the aperture causes the light to diffract and creates star-shaped rays.
Streetlights or building lights are ideal for creating starbursts. Additionally, using a cross filter with illuminations can enhance the sparkling light effects.
Creating bokeh

In night photography, creating bokeh from distant light sources makes the image more beautiful and impactful.
To create bokeh, shoot with a wide-open aperture and make sure there’s sufficient distance between the subject and the background lights. Adjust the distance to create the bokeh effect as desired.
Choosing the right lens for night photography
Lastly, here are some important points to consider when selecting lenses for nightscape photography.
Focal length
As mentioned earlier, focal length affects the angle of view, so it’s important to choose a lens that fits the desired image. If you want to capture a grand view of the entire cityscape, use a wide-angle lens. An ultra-wide-angle lens (around 24mm or below) will allow you to capture even more dynamic scenes.
If you need to capture distant subjects, like a Ferris wheel, airplane, or building details, a telephoto lens or Ultra-telephoto lens will be necessary. Using the compression effect of a telephoto lens can also help create impressive compositions by stacking foreground light with distant lights. Ideally, using both a wide-angle and telephoto lens will give you more flexibility in expressing nightscapes.
Wide aperture
A lens with a small aperture (e.g., F2.8) makes it easier to capture bright photos in dark environments and is especially useful for handheld shooting. If you want to combine portraits with nightscapes or express beautiful bokeh, a lens with a wide aperture will allow you to create attractive blurred backgrounds.
Weight and size
Check the weight and size of the lens. Lighter lenses are easier to carry and more convenient for handheld shooting. When traveling for night photography, lightweight lenses will also be easier to handle and won't burden you during transport.
Autofocus (AF) performance
For night photography, make sure the lens can focus quickly and accurately even in low light. Additionally, if you're considering general use, you should also check the lens's ability to track moving subjects.
Image stabilization
If you plan to shoot handheld, it’s reassuring to choose a lens with built-in image stabilization. This is especially important for telephoto lenses, as they are more prone to shake. Additionally, check the effectiveness of the image stabilization to ensure smooth shots.
Master the tips and capture stunning nightscapes
To shoot nightscapes, prepare your gear, such as wide-angle and telephoto lenses, a tripod, and a remote shutter release. Exposure settings are particularly important during shooting. Make sure to choose the right lens for the scene and experiment with composition to capture beautiful night photographs.

Lens Featured in this Impression
-
-
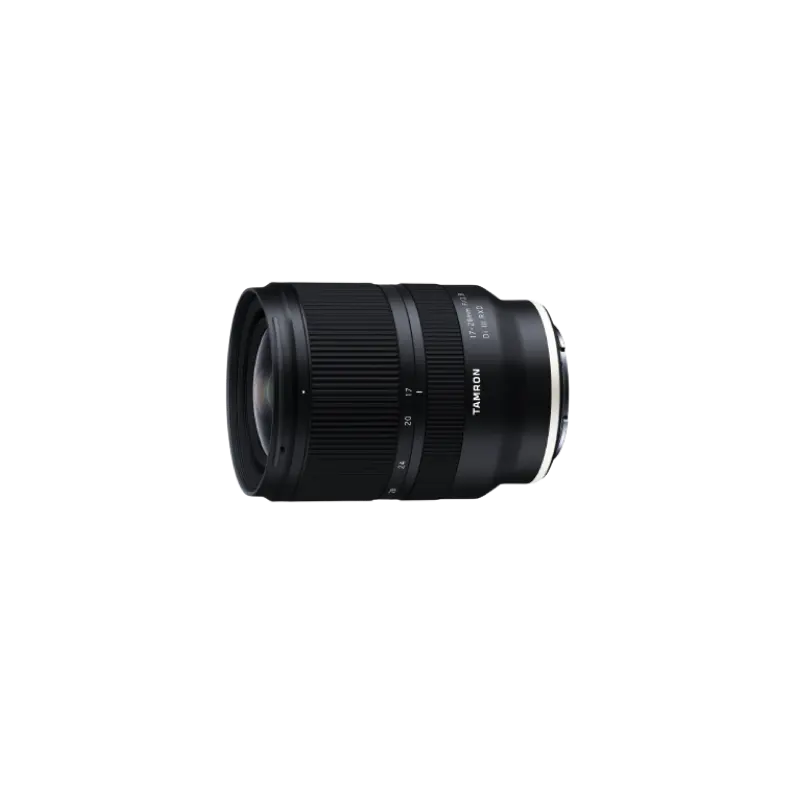
17-28mm F/2.8 Di III RXD a046(Model )
The 17-28mm F/2.8 Di III RXD (Model A046) achieves a filter diameter of ø67mm, which is surprising for a large aperture ultra wide-angle zoom lens for full-frame cameras. It’s small and light weight with a good camera balance. It's a dedicated lens for mirrorless interchangeable -lens cameras that can be carried easily and can be used in various situations.
-
-
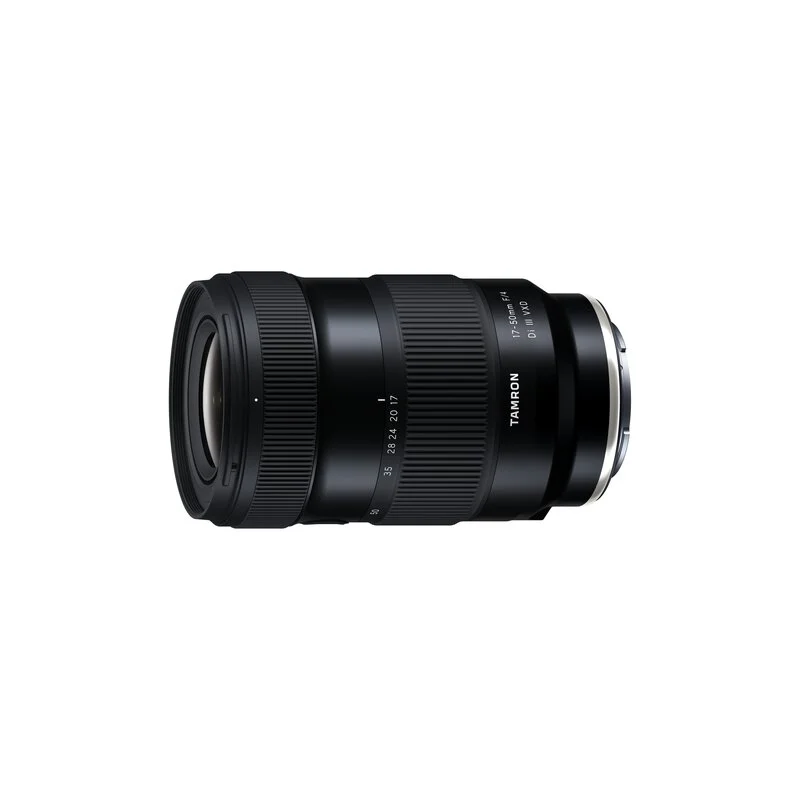
17-50mm F/4 Di III VXD a068(Model )
It's the world’s first lens covering from ultra wide-angle 17mm to the standard 50mm focal length. The highly-compact TAMRON 17-50mm F/4 Di III VXD (Model A068) for Sony E-mount full-frame mirrorless cameras offers maximum versatility for still and video creators. From landscapes to living rooms, this lens captures all that you see.
-

-
20-40mm F/2.8 Di III VXD a062(Model )
The 20-40mm F/2.8 Di III VXD (Model A062) is a new large-aperture standard zoom lens that thoroughly pursues portability. While covering the range from the ultra-wide angle of 20mm to the standard range of 40mm, it is the smallest and lightest in its class. It also offers high image quality throughout the entire zoom range, making it useful not only for still image shooting but also for video recording such as vlogging. The VXD, which is quiet and agile, achieves high-speed, high-precision autofocusing. It is a new, unprecedented large-aperture standard zoom lens that allows users to easily enjoy taking out and shooting both still and video.
-
-
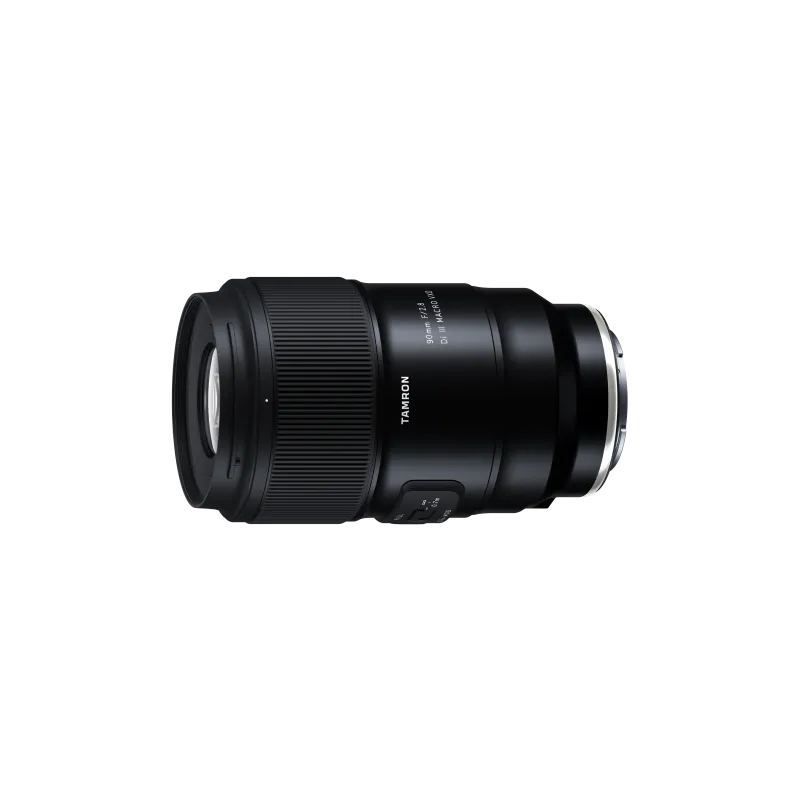
90mm F/2.8 Di III MACRO VXD f072(Model )
The 90mm F/2.8 Di III MACRO VXD (Model F072) is the mirrorless version of the TAMRON 90mm macro lens, beloved for many years. It offers outstanding resolution and optical performance, featuring TAMRON’s first 12-blade circular aperture for stunning bokeh and starburst effects. Its lightweight, compact design ensures easy portability, and the new hood with sliding window simplifies filter use. The lens is also compatible with TAMRON Lens Utility™ and has high-speed, high-precision AF, expanding possibilities for photography and videography. This lens blends TAMRON's legacy of brilliance with advanced technology, marking a new chapter in the 90mm macro lens history.
-

-
28-75mm F/2.8 Di III VXD G2 a063(Model )
Product Page | 28-75mm F/2.8 Di III VXD G2 (Model A063) is the second-generation fast-aperture standard zoom lens for Sony and Nikon full-frame mirrorless cameras, offering significantly improved optical and autofocus performance and new function customization.