December 10, 2024
How to take beautiful pictures of the night sky? Tips for Photography and how to choose the right lens
How to take beautiful pictures of the night sky? Tips for Photography and how to choose the right lens

Many people want to capture the night sky in beautiful photographs, including the starry sky, the moon, and night scenes. In this article, we will explain the basics of taking beautiful pictures of the night sky in an easy-to-understand manner for beginners. By acquiring this knowledge, you will be able to take impressive photos of the night sky.
Subjects in the night sky
The night sky contains a variety of subjects, including the stars, the moon, night scenes, and fireworks. Each subject has its own unique charm, and the tips for photographing them are different. Here are some tips for each of the main subjects that you should know about.
Starry sky
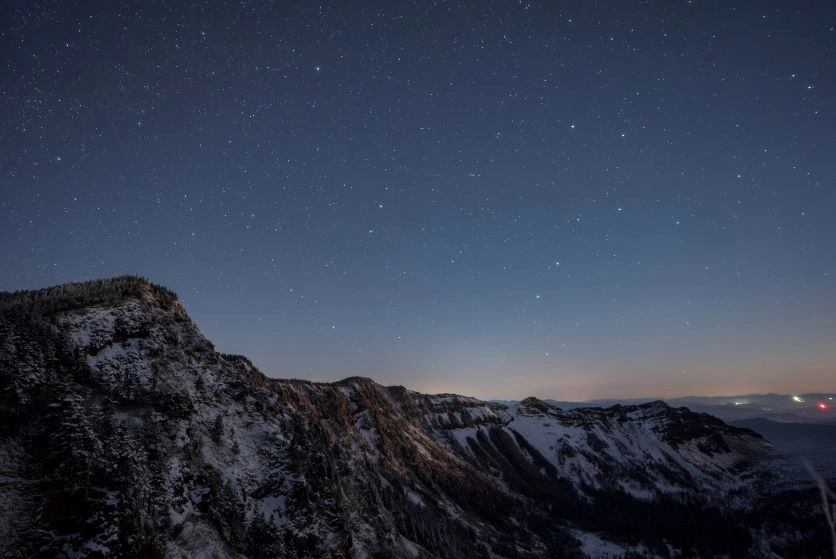
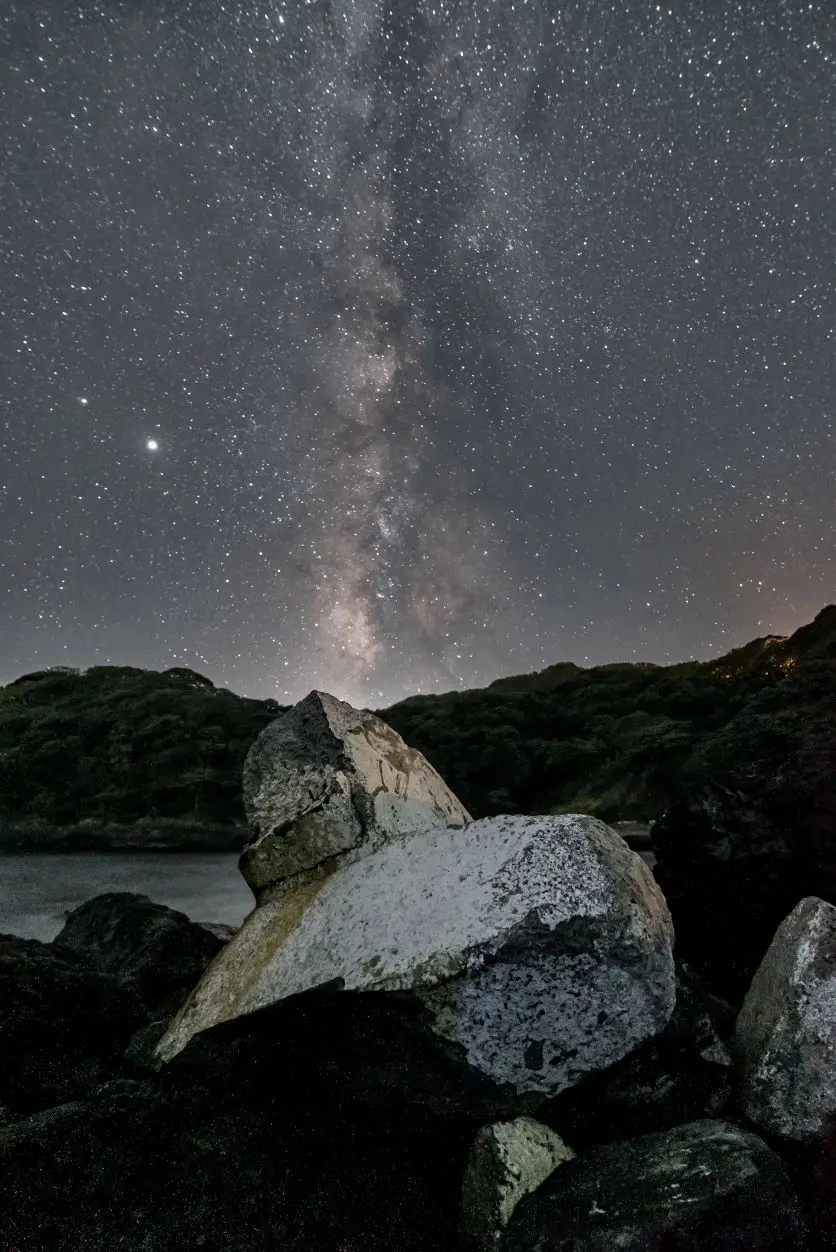
Starry skies are delicate and weak, so there should be no strong light sources such as city lights or the moon around. For this reason, shooting in rich natural environments such as mountains or the ocean is required.
To take beautiful photographs of stars, it is important to use appropriate exposure settings. As a rough guide, set the F-number wide open, the shutter speed to 20 to 30 seconds, and the ISO sensitivity to ISO 1600 to ISO 6400. This will allow you to capture the stars clearly even in a dark night sky. You will also need accessories such as a tripod and release.
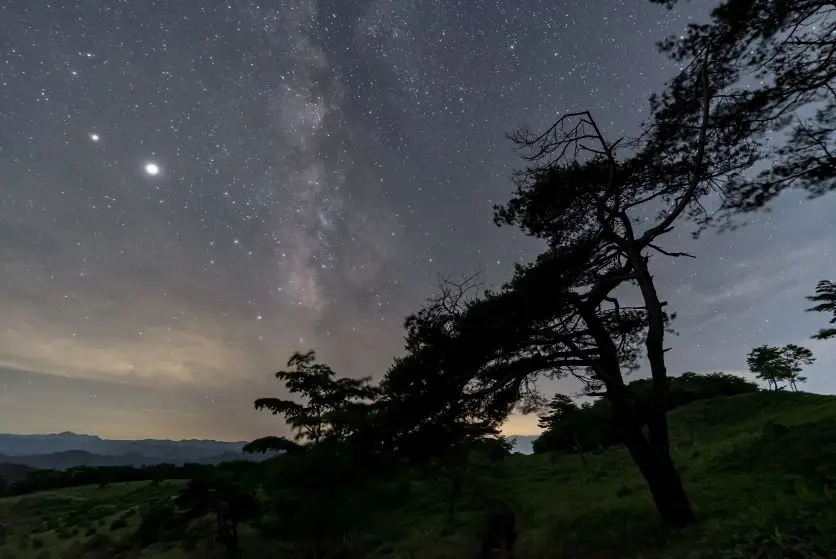
Focusing is another important point. Use a function such as the one that magnifies the LCD screen when you switch to MF to adjust the focus so that bright stars appear as dots. Also, the composition of the image will make it more appealing. By adding a tree or mountain in the foreground, you can create a composition with depth.
Moon
Since the moon is a bright subject, it can be photographed without problems even with some city lights. For exposure settings, use an F-number of about F8 to F11, a shutter speed of about 1/100 to 1/250 second, and an ISO sensitivity of about ISO 100 to ISO 400. This will allow you to capture the outlines of the moon in sharp detail.
As for the choice of lens, use a wide-angle lens when shooting landscapes with the moon, and use a telephoto or super-telephoto lens when you want to magnify the moon for a larger image.
In addition to the full moon, it is also recommended to photograph the half moon. A half-moon will emphasize the shadows of the craters, making it easier to express the three-dimensional effect of the moon's surface.
Nightscape and Illumination
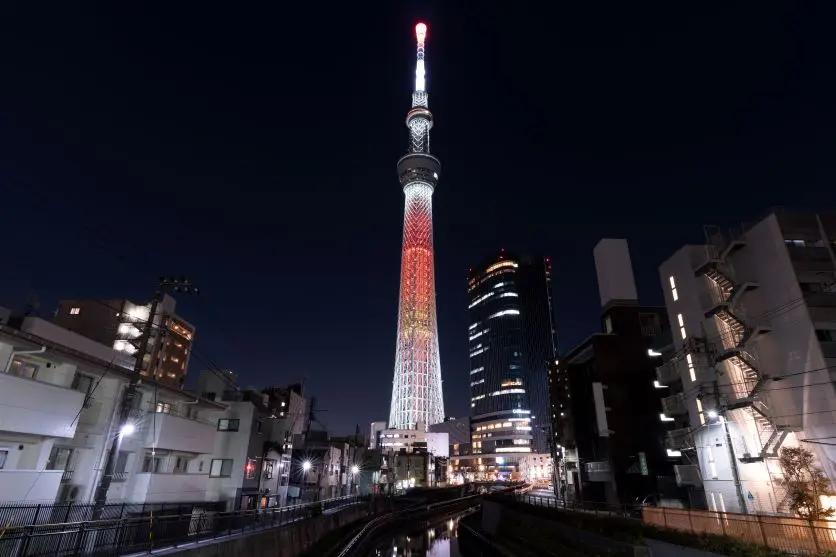
When photographing night scenes and illumination, it is important to capture the light and buildings in sharp detail; use a slight aperture of F8 to F11, a shutter speed of 1 to 30 seconds, and an ISO sensitivity of ISO 100 to ISO 800. Because of the long exposure time, a tripod should be utilized.
In addition, you will want to be creative in your angles and positions so that the scenery does not become mundane. Especially if you are near a harbor or the ocean, you can create a fantastic atmosphere by capturing the buildings reflecting on the water's surface.
Fireworks
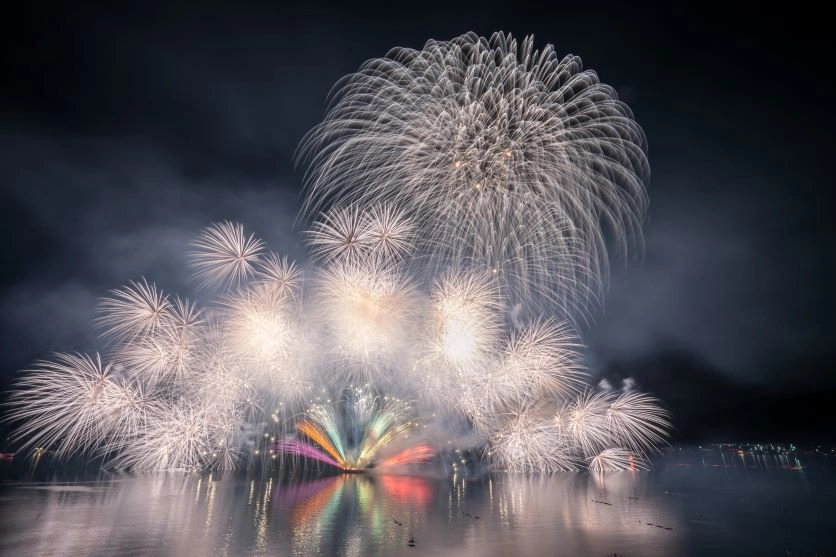
Fireworks are a difficult subject to capture clearly because of their beautiful shapes, so it is best to use aperture settings of F8 to F11, use bulb mode for shutter speed, and set the time between the opening and extinguishing of the firework. These settings will allow you to capture the beautiful trails of the fireworks.
You should also prepare a tripod to prevent camera shake. In addition, the use of a release or other equipment will prevent vibration when pressing the shutter.
When composing your shot, keep track of the launch site and allow for margins. If necessary, you can crop the margins later to get a larger shot of the fireworks.
How to capture the night sky beautifully
So far, we have introduced typical scenes of the night sky and tips for photographing each. On the other hand, there are some common knowledge that is useful to know for any scene. Here are some basic elements for beautifully photographing the night sky.
Use a wide-angle or telephoto lens
There are many variations in photographing the night sky, but they can be largely divided into photographing the entire landscape and close-ups of the subject. The appropriate lens for each will vary.
A wide-angle lens is suitable for capturing the vastness of the night sky. By using a wide-angle lens, the entire landscape can be captured within a wide angle of view, and distant subjects can be easily brought into focus.
On the other hand, if you want to take large pictures of distant subjects, such as close-ups of the moon, a telephoto lens, especially a super-telephoto lens with a focal length of about 400 mm or more, is recommended.
In this way, it is important to select the appropriate lens according to your photographic objectives.
Use a tripod and release
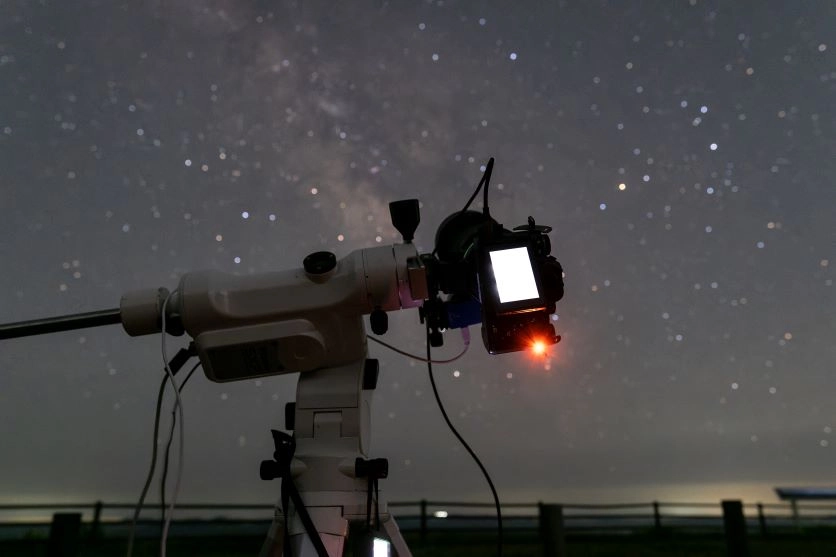
Since photographing the night sky often requires the use of a slow shutter speed, it is very important to avoid blurring. Therefore, the use of a stable tripod is essential.
In addition, the minute vibration of the camera's shutter release can also cause blurring, so the use of a release or remote shutter release is recommended. By using these devices, you will be able to take sharper and more beautiful pictures of the night sky.
Plan the shooting location
The best shooting location will vary depending on the subject. In particular, photographing the starry night sky requires a low-light environment to capture a clear image. Choose a location far from ground light sources, such as a mountain or the ocean.
On the other hand, the moon is a relatively bright subject, so it can often be photographed without problems even in the presence of city or street lights. On the other hand, too much light from the moon can be obtrusive when shooting starry skies, for example. When photographing starry skies or night scenes, it is best to aim for dark nights around the new moon.
Also, during the magic hour before sunset, the colors of the sky change dramatically, creating a fantastic atmosphere for photographs. By taking photos at the right time and place, you will be able to leave behind more impressive night sky photos.
Setting the exposure appropriately
Exposure settings are one of the most basic and important factors. Here are some guidelines for exposure settings that are easy to utilize when shooting the night sky.
Shooting Mode
Shooting in manual mode is fundamental when shooting the moon or starry sky, as it is difficult to properly expose and focus the camera using the camera's auto function. Try manually setting the aforementioned exposures and shooting.
On the other hand, aperture priority mode is easier to use when shooting night scenes and illumination. In this mode, the shutter speed is automatically adjusted to the correct exposure according to the F-number value. This makes it easier to take pictures with sufficient brightness while adjusting the bokeh effect.
F-number
When shooting starry skies, it is common to use a wide aperture (the minimum F-number of the lens) in order to capture as much light as possible. This makes it easier to take brighter pictures even in dark starry landscapes.
On the other hand, when shooting bright subjects such as the moon or night scenes, stopping down the F-number will produce images with sharper outlines; use an aperture of about F8 to F11 to achieve a clear image.
Shutter speed
Shutter speed is another factor that depends on the subject.
For starry sky photography, long exposures of 20 to 30 seconds are generally recommended. With this level of exposure time, the stars will appear as bright dots, and a wide-angle lens will prevent the stars from drifting away from the subject.
On the other hand, a shorter shutter speed is fine for photographing the moon. The moon is a very bright subject, so a shutter speed of 1/100 sec. to 1/250 sec. will be sufficient to take a bright, clear picture. Thus, the key to bringing out the beauty of the night sky is to set the shutter speed appropriately for the subject.
ISO sensitivity
Starry sky photography requires a higher ISO sensitivity to capture dark subjects. Normally, ISO 1600 to ISO 6400 is sufficient to capture even somewhat faint stars.
On the other hand, when shooting the moon or bright night scenes, it is easy to take brighter pictures without using a very high ISO sensitivity. First, try shooting at ISO 100 to ISO 400 and see if the periphery and detailed modeling of the subject are clearly depicted.
Exposure Compensation
When shooting night scenes, the difference in brightness between the city lights and dark areas such as the night sky can make the overall impression of the scene darker, resulting in an image that is different from the one you expect. If you feel that the image is too dark in auto shooting mode, adjust the exposure compensation to a positive value to make the entire image appear brighter.
Furthermore, if you want to make fine adjustments to the exposure after shooting, we recommend shooting in RAW format, which allows you to fine-tune the exposure later on your computer.
Focusing
Use manual focus when shooting starry skies and the moon, as autofocusing can be difficult. Utilizing Live View, adjust the focus so that the stars appear as beautiful dots while magnifying the screen.
Adjust the white balance
By changing the white balance to fluorescent or bulb color, you can adjust the tint to your liking. For example, if you want a cool bluish impression of a starry sky, use fluorescent color; if you want a warm night scene, use light bulb color, and so on. If you have an image or color atmosphere you want to express, try it out.
Or, as mentioned above, if you shoot in RAW format, you can make detailed adjustments to subtle tints after shooting.
Shooting with a different composition
To make your night sky photos more impressive, you should be familiar with several compositional techniques.
Consider a three-part composition or golden ratio composition, and balance the subject matter, such as constellations, the moon, and buildings, in the frame.
In addition, layering ground scenery such as the sea, buildings, or mountains in the foreground can add depth and a sense of scale to the picture. For example, placing rocks or trees in the foreground and photographing the starry sky above them can effectively express the vastness of the night sky.
Trying to shoot from different angles and positions will also allow you to capture different aspects of the same night sky.
Attention to condensation in summer and winter
When photographing the night sky, you should also take care of your equipment. Especially in summer and winter, when temperatures change rapidly, condensation can easily form inside the lens and cause unexpected damage.
To prevent condensation, it is important to avoid sudden temperature changes. When you arrive at your shooting location, do not take the lens out immediately, but allow it to gradually acclimate to the outside temperature in your camera bag. This will allow the temperature around the lens to gradually approach the outside temperature and reduce the risk of condensation.
If possible, it is also a good idea to prepare accessories such as a lens heater. By warming the surface of the lens with a lens heater, the temperature difference from the outside temperature can be reduced, making condensation less likely to form.
How to Select the Right Lens for Night Sky Photography
Finally, here are some points to consider when choosing a lens suitable for shooting the night sky. Select the optimum lens from a variety of perspectives, including maximum aperture F value, focal length, and lightness and compactness.
F-number at maximum aperture
A lens with a small maximum aperture F-number allows more light to enter the sensor, making it easier to take brighter pictures in dark places, such as at night. If possible, a lens with a maximum aperture of F2 or F2.8 to F4 or less is recommended.
Focal length
When photographing the night sky, it is important to select a lens with the appropriate focal length for your subject. Wide-angle or ultra-wide-angle lenses with a focal length of about 35 mm or less are suitable for capturing vast landscapes such as starry skies and night scenes. By using a wide-angle lens, you can capture the expanse of the night sky in a single photo.
On the other hand, a telephoto or ultra-telephoto lens is required for close-ups of distant subjects such as the moon. If you want to capture details such as the craters of the moon, you should use a telephoto lens with a focal length of 200mm to 300mm or more.
Lightness and compactness
When photographing night scenes and starry skies, equipment is often carried to distant locations, so a lightweight, compact lens will reduce the physical burden. Lightweight lenses are less tiring to carry for long periods of time and are easy to bring along when shooting in the mountains. Also, compact lenses are less bulky and can be easily stored in limited space in a bag, making them easy to use in situations where mobility is required.
Ease of operation
When shooting the moon or starry skies, manual focusing is often required. It is important to check the smoothness of the focus ring and ease of operation. A large ring that is easy to operate even when wearing gloves and a ring with just the right amount of resistance are useful when shooting the night sky.
The Astro Focus Lock (Astro FC-L) function of TAMRON’s proprietary TAMRON Lens Utility Mobile™ software can be used to fix the focus position at infinity to ease the hassle of focusing when shooting starry landscapes.
Resolution performance
A lens with high resolution is recommended to capture the details of stars and the moon in sharp detail. In particular, choosing a lens that renders not only the center of the image but also the corners of the angle of view in a neat, flat manner will ensure that you capture the impression you see in your photographs.
Let's bring out the charm of the night sky and capture it in your photos!
The night sky offers a variety of subjects, such as the stars, the moon, the nightscape, and fireworks, each with its own unique charm. In addition, the angle, background, and time of day will also greatly change the look of the photo. Although it may seem difficult at first, you can gradually get closer to your ideal photo by taking a series of shots while keeping basic photographic techniques in mind. Enjoy your special moments under the beautiful night sky with a camera in hand.

Lens Featured in this Impression
-
-
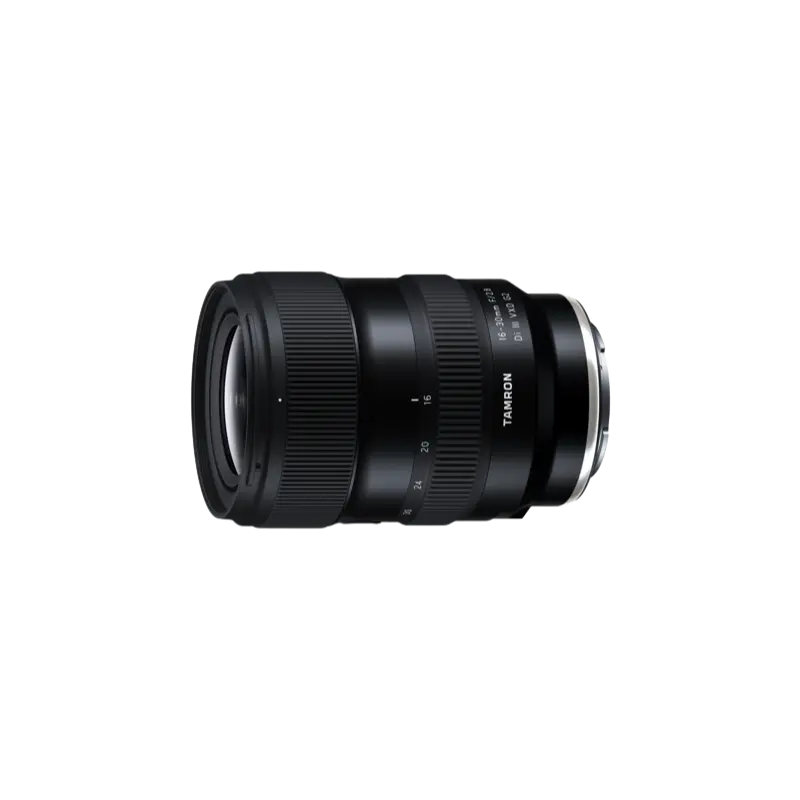
16-30mm F/2.8 Di III VXD G2 a064(Model )
Expanding upon the success of the highly acclaimed TAMRON 17-28mm F/2.8 Di III RXD (Model A046), the G2, 2nd-generation emerges as an advanced 16-30mm F/2.8 Di III VXD G2 (Model A064). While broadening the zoom range, it maintains a compact, lightweight design and delivers exceptional image quality. In addition, it features improved autofocus performance and has been updated to the latest lens design, enhancing overall operability. It’s also compatible with TAMRON Lens Utility™, allowing you to customize practical functions for both photography and videography. Retaining the mobility and versatility of its predecessor, the 16-30mm F2.8 G2 unlocks new creative possibilities. Experience the unique creative expressions that only a fast, ultra wide-angle lens can offer.
-

-
20-40mm F/2.8 Di III VXD a062(Model )
The 20-40mm F/2.8 Di III VXD (Model A062) is a new large-aperture standard zoom lens that thoroughly pursues portability. While covering the range from the ultra-wide angle of 20mm to the standard range of 40mm, it is the smallest and lightest in its class. It also offers high image quality throughout the entire zoom range, making it useful not only for still image shooting but also for video recording such as vlogging. The VXD, which is quiet and agile, achieves high-speed, high-precision autofocusing. It is a new, unprecedented large-aperture standard zoom lens that allows users to easily enjoy taking out and shooting both still and video.
-
-
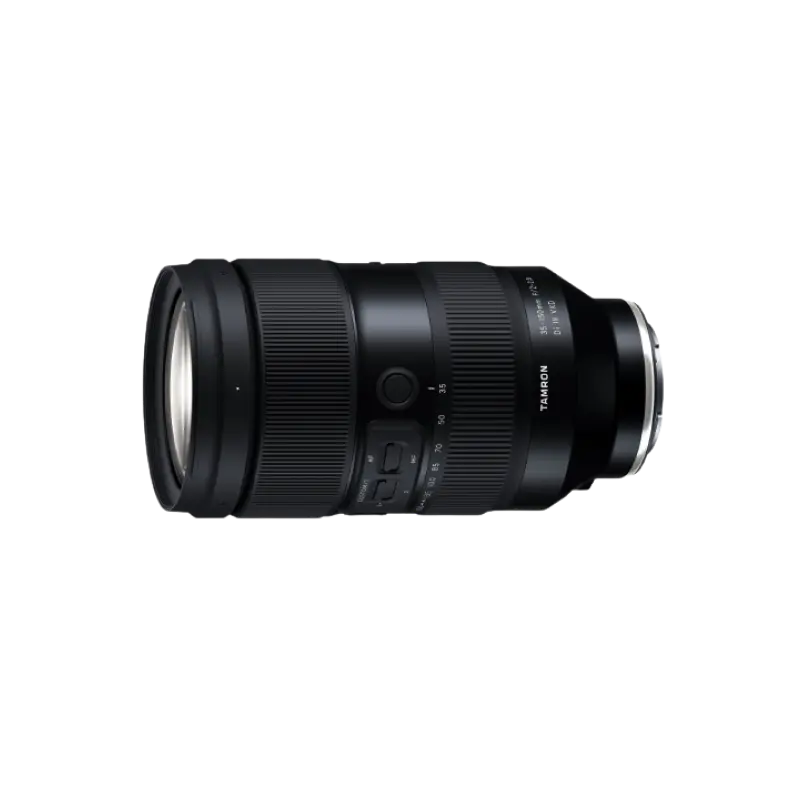
35-150mm F/2-2.8 Di III VXD a058(Model )
The 35-150mm F/2-2.8 Di III VXD (Model A058) is a high resolution travel zoom lens that covers everything from the 35mm wide angle to the 150mm telephoto focal length, the first zoom lens achieving an aperture of F2 at the wide angle end. It has a groundbreaking fast-aperture and utilizes the linear motor focus mechanism VXD (Voice-coil eXtreme-torque Drive), thereby achieving high speed, high precision autofocusing. The innovative lens design enabled us to greatly improve the lens's grip and functionality. The software, developed in-house, enables to easily customize functions and to update firmware.
-
-
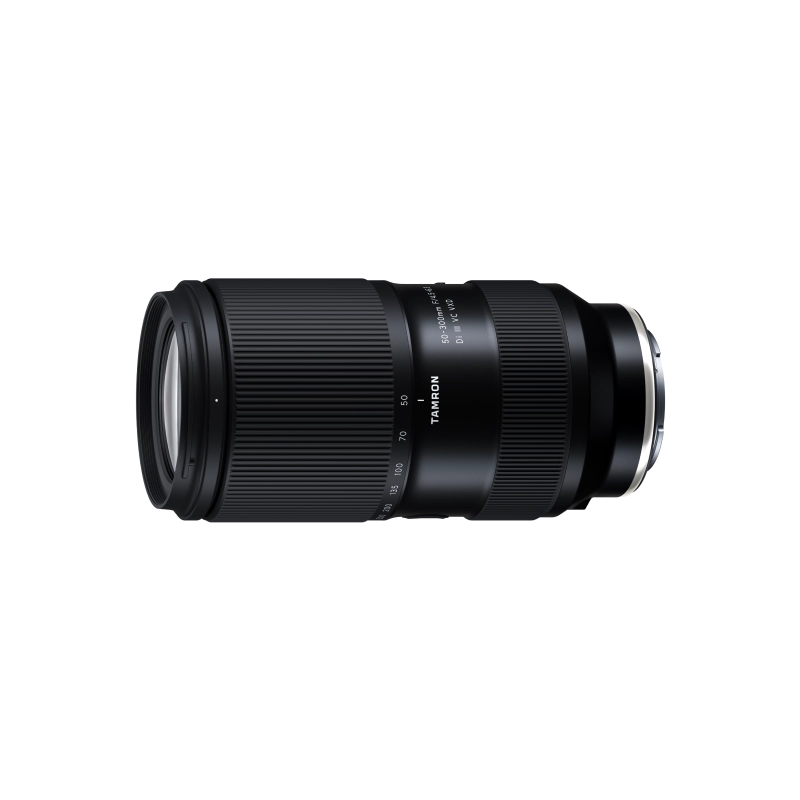
50-300mm F/4.5-6.3 Di III VC VXD a069(Model )
50-300mm F/4.5-6.3 Di III VC VXD (Model A069) is a 6x telephoto zoom lens for Sony E-mount that delivers outstanding convenience and image quality. Discover the groundbreaking capabilities of a 300mm telephoto zoom that starts from 50mm at the wide end.
-
-
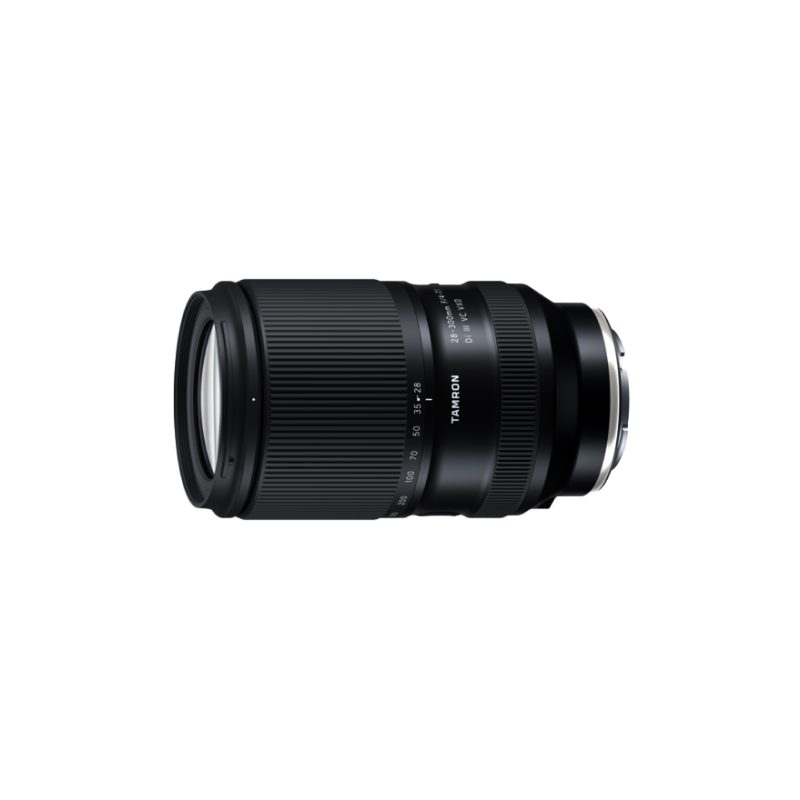
28-300mm F/4-7.1 Di III VC VXD a074(Model )
28-300mm F/4-7.1 Di III VC VXD (Model A074) is a compact and versatile all-in-one 10.7x zoom lens for Sony E-mount. The lens boasts class-leading high image quality, and is equipped with high-speed AF VXD and VC. Go from wide-angle to long telephoto in an instant and capture every moment of the world around you.

