November 15, 2024
[How to Photograph the Starry Sky (Starscape Photography)] Introducing interchangeable-lens camera Settings and Lens Selection Points
[How to Photograph the Starry Sky (Starscape Photography)] Introducing interchangeable-lens camera Settings and Lens Selection Points
![[How to Photograph the Starry Sky (Starscape Photography)] Introducing interchangeable-lens camera Settings and Lens Selection Points [How to Photograph the Starry Sky (Starscape Photography)] Introducing interchangeable-lens camera Settings and Lens Selection Points](/global/consumer/article_file/file/article-how-to-shoot-astrophotography/01-en.webp)
![[How to Photograph the Starry Sky (Starscape Photography)] Introducing interchangeable-lens camera Settings and Lens Selection Points [How to Photograph the Starry Sky (Starscape Photography)] Introducing interchangeable-lens camera Settings and Lens Selection Points](/global/consumer/article_file/file/article-how-to-shoot-astrophotography/01-en.webp)
If you get a single-lens reflex camera, you will want to take pictures of the starry sky (starscape) at least once. At first glance, it may seem difficult, but by knowing the tricks of the trade and properly utilizing the equipment, you can capture the starry sky in beautiful photographs. This article introduces basic knowledge of the equipment required for starry sky photography, as well as settings for the main body of an interchangeable-lens camera. Please refer to this article and try your hand at starry sky photography.
What to use for photographing the starry sky
To take pictures of the starry sky as you wish, you will need some equipment. Before introducing tips on photography, let's check the equipment you need to prepare.
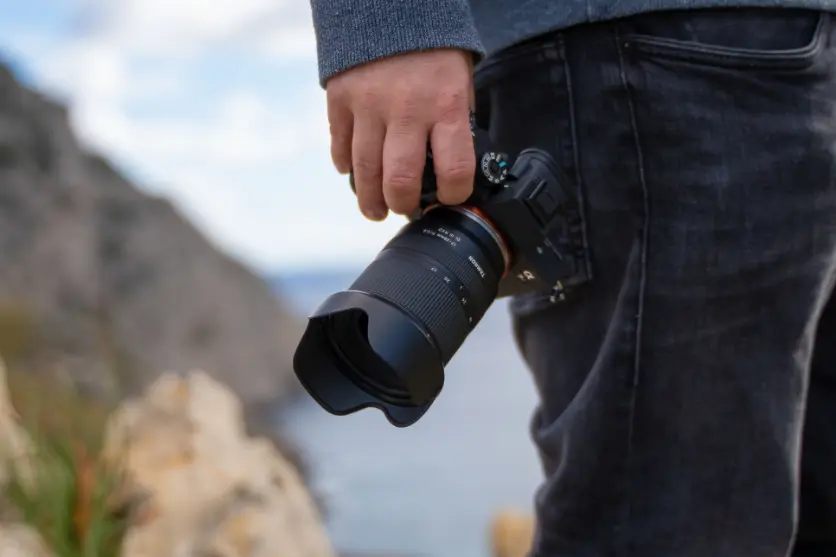
Wide-angle lens or ultra wide-angle lens
When photographing starry skies (starscapes), it is necessary to capture a wide scene throughout a single photograph. By using a wide-angle lens or an ultra wide-angle lens, you can not only capture the entire starry sky in a large image, but also capture each and every star.
Generally, lenses with a focal length of 35 mm or less are classified as wide-angle lenses, but if possible, an ultra wide-angle lens with a focal length of 20 mm or less will provide a wider angle of view, which is useful for expanding the range of expression, such as compositions that include ground scenery.
Tripod
To take beautiful pictures of the starry sky, it is necessary to slow down the shutter speed, so a tripod is indispensable to reduce camera shake.
In particular, choosing a tripod with solid legs will ensure strength and stability, making it easier to take clear, blur-free photos.
Release
At slower shutter speeds, even the slightest jolt when pressing the shutter release button by hand can result in camera shake. The use of a release is an effective way to reduce such camera shake.
A release is an accessory used to remotely control the shutter of a camera. Using a release allows you to release the shutter without touching the camera. There are several types of releases, including wired and wireless types.
In some cases, a self-timer can be used as a substitute, but having a release allows you to shoot with greater stability.
Soft filters
Soft filters are filters that blur the light and give the image a soft atmosphere. When used in starscape photography, it also blurs the light of bright stars and accentuates the colors of the stars.
This is a technique that is frequently used, especially when you want to show off constellations and the geometric arrangement of stars. This is one piece of equipment you will want to have if you have become accustomed to photography and want to take on the challenge of more serious expression.
Lens heater
Lens heaters are used to prevent condensation on the lens. Starscape photography is often taken under low temperatures in winter or in humid environments in summer. In such environments, condensation tends to form on the lens, resulting in blurred photographs.
When shooting starry skies in places such as in the mountains or by the sea, where temperature and humidity fluctuate greatly and condensation is likely to occur, it is advisable to prepare a lens heater.
Headlight
Since most starry sky photography is done in the dark, such as in the mountains at night, a light is essential. Considering that you will be moving around with luggage, a headlight type is recommended.
On the other hand, even just starry sky photography is sensitive to outside light, so be careful about the amount of light so that it does not interfere with other people's photography. If possible, it is a good idea to have one for low light for shooting and one for traveling, respectively.
Equatorial Mount
An equatorial mount is a type of mount with one axis parallel to the earth's axis of rotation and the other axis perpendicular to it, allowing you to accurately track the movement of celestial objects.
Although it is possible to take beautiful photographs of the starry sky using an ordinary fixed tripod, there are occasions when long exposures are required, such as when photographing the Milky Way, where the movement of the stars inevitably appears to be in lines.
Therefore, an equatorial mount is an effective way to capture stars more accurately as dots in long exposures. This equipment is necessary for more serious photography and for creating more detailed works of art. However, when using an equatorial mount to photograph starry landscapes, stars are captured as dots, but the surrounding scenery is captured as a stream, so care must be taken.
Recommended exposure settings for starry sky photography
Appropriate exposure settings are important for beautiful photos of the starry sky. This section explains the appropriate settings for starry sky photography, including F-number, shutter speed, and ISO sensitivity.
Shooting Mode
In starry sky photography, it is necessary to focus on the weak light of each individual star, so it is often impossible to properly adjust the exposure in auto mode.
Therefore, use manual shooting mode and set the exposure manually. This may seem difficult for those who are not used to shooting in manual, but as explained below, there are some fixed settings that are recommended to start with.
F-number
Since starlight is very weak, use a F-number as close to maximum aperture as possible (around F2.8). By using a wide aperture, you maximize the amount of light entering the lens, making it easier to capture the stars brightly.
Shutter speed
First, set the shutter speed to about 20 to 30 seconds. If the stars move and appear linear at this setting, set a faster shutter speed, such as 5 to 15 seconds. Also note that the shutter speed at which a point image is formed depends on the focal length (the wider the focal length, the longer it takes to form a point image).
On the other hand, if a faster shutter speed results in a darker picture, increase the ISO sensitivity to adjust the brightness.
ISO sensitivity
For starry sky photography, it is common to set the ISO sensitivity at around ISO 1600 to 6400. It is best to start with a low ISO sensitivity and gradually increase it if the photo is darker.
Exposure settings will vary depending on the shooting environment and the equipment used. Try starting with the general settings above and fine-tune them as you repeatedly take pictures.
Tips for taking beautiful pictures of starry skies
Once you have the key points of exposure settings, check out the tips for taking beautiful starry sky photographs. Here we will introduce some basic points such as focusing and composition.
1) Choose a dark shooting location with no ambient light
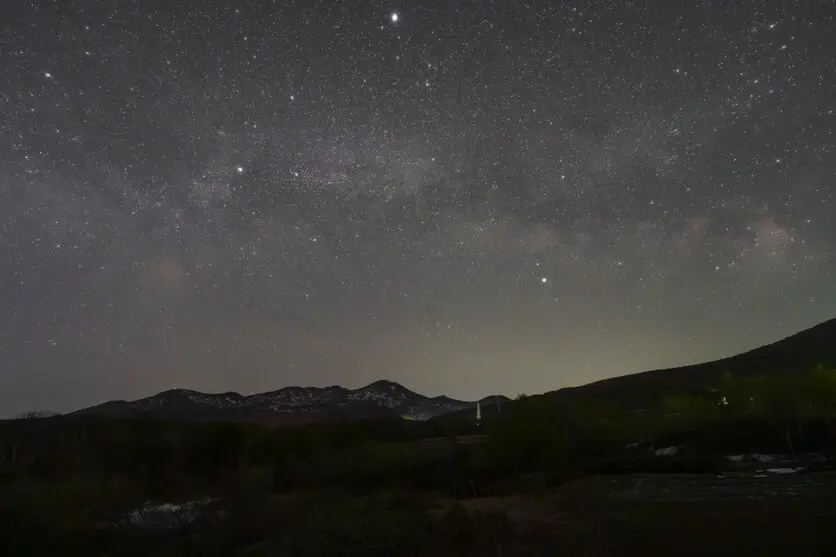
Since starlight is very weak compared to city lights, streetlights, and moonlight, it is necessary to shoot in the darkest possible environment. Make sure there are no bright light sources both in the vicinity of the shooting location and at the point where the camera is pointed.
Ideal shooting locations include mountains or highlands with rich natural surroundings and low ambient light. Also, on nights with a full moon, the light from the moon is so strong that the light from the stars can be overpowering. If possible, it is best to aim for the timing of the new moon.
2) Choose a well-cleared day
In addition to rainy weather, cloudy or humid weather also makes it difficult to photograph stars, as they may not be clearly visible or become hazy. Choose a clear day with as little humidity as possible.
A little cloud cover is not a problem, but a clear day with as little cloud cover as possible is preferable.
3) Focus on bright stars
When shooting starry skies, it is necessary to adjust the focus using manual focus (MF). While viewing the LCD screen in live view, use the focus magnification function to check that bright stars are captured as dots.
While turning the focus ring, find the point where the star appears to be the smallest and clearest point.
4) Composition
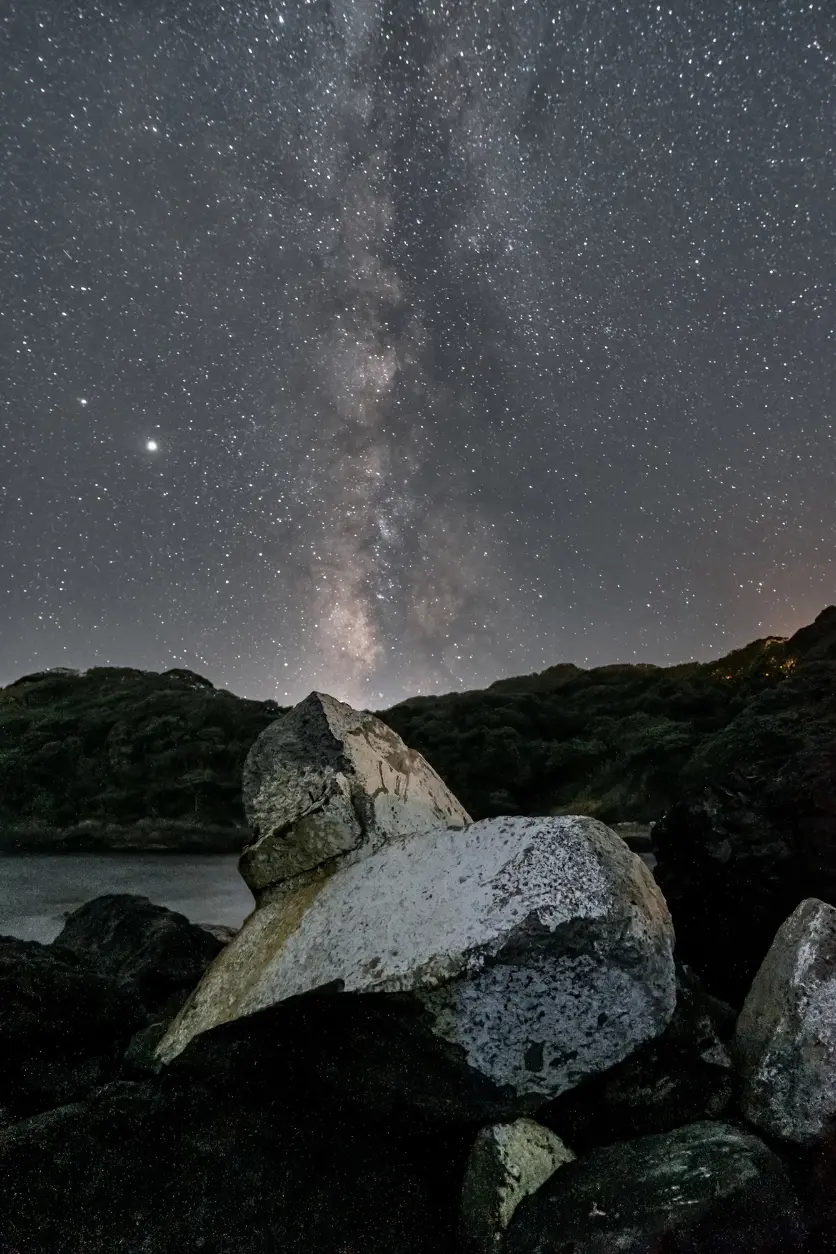
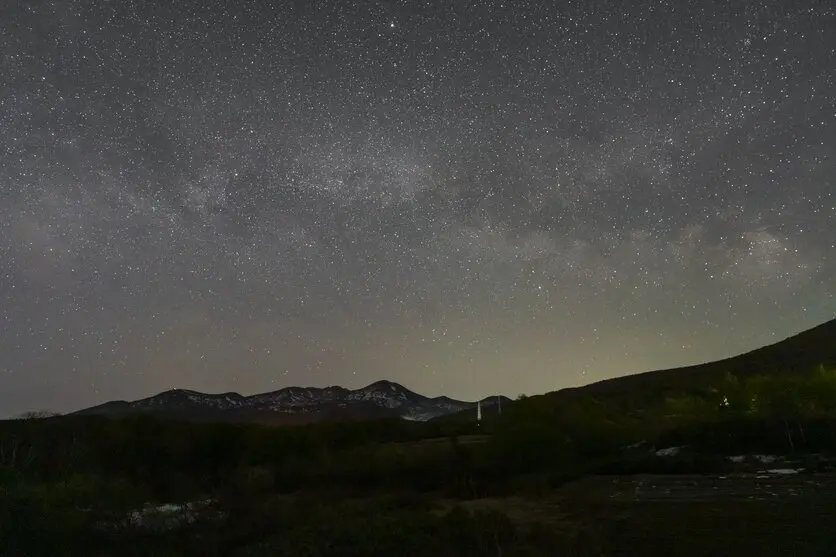
As you become accustomed to taking pictures, try changing the composition. Instead of capturing only the starry sky, you can make your photos more impressive by including the scenery on the ground.
For example, by including mountain ridges, trees, or buildings in the foreground, you can create a beautiful contrast with the ground and express the grandeur of the starry sky.
A composition in which the starry sky is reflected on the surface of the water is also attractive. Shooting at the seaside or in a cove will create a fantastic work of art.
Try your hand at various expressions
Starry skies can be photographed with a very different impression by using different equipment and adding image processing. Here, we introduce techniques to broaden the range of expression in starry sky photography.
Try using soft filters
*Filter information : Kenko PROSOFTON Clear
As mentioned above, soft filters have the effect of blurring the outlines of stars. This makes starlight look more gorgeous and glittering, which is especially useful when you want to clearly show patterns such as constellations.
There are many different types of soft filters, with varying degrees of blurring. If the filter's effect is too strong, the entire landscape may appear blurred, so it is a good idea to check product reviews and sample photos before making your choice.
Adjusting the white balance
Changing the white balance will change the overall color. For example, setting it to fluorescent (daylight) color will give the starry sky a bluish, fantastic look. Conversely, setting it to the color of a light bulb will produce a warm starry sky that looks almost orange.
It is recommended that you first try shooting with a color tone close to natural with auto white balance, and when you become accustomed to it, try changing the white balance to find the expression you prefer.
On the other hand, if you shoot RAW images, you can also adjust the white balance on the editing software after shooting. Once you have taken a number of shots, we recommend that you try to explore your own expression in this way.
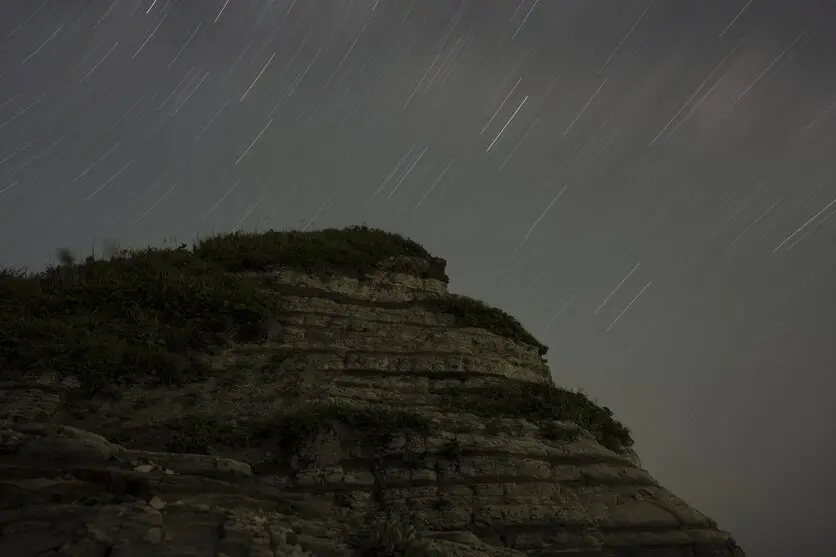
Capturing star trails
The two most common methods for capturing star trails are comparative brightness compositing using software and long exposures.
Comparative brightness compositing is a method that compares the brightness of individual pixels in multiple images and combines them into a single photograph using the brighter pixels. In this method, many photos are taken at regular intervals of 30 minutes to several hours, and later combined by software to reproduce the trails of stars.
The advantage of comparative brightness compositing is that it can be easily attempted because it can be taken even in bright surroundings. This method is also recommended for first-time star trails photographers.
On the other hand, long-exposure photography without using such software requires a sufficiently dark place where the Milky Way can be seen by the naked eye. Usually, the ISO sensitivity is set to a low sensitivity and bulb shooting is used for exposures of 30 minutes to several hours. Note that long exposures can put a strain on the camera's sensor and battery and increase noise. Depending on the specifications of the camera used, set the exposure time and prepare an external power supply.
Although the hurdle for taking photographs is higher, this method is suitable for creating more delicate star trails, and is suitable for serious works of art.
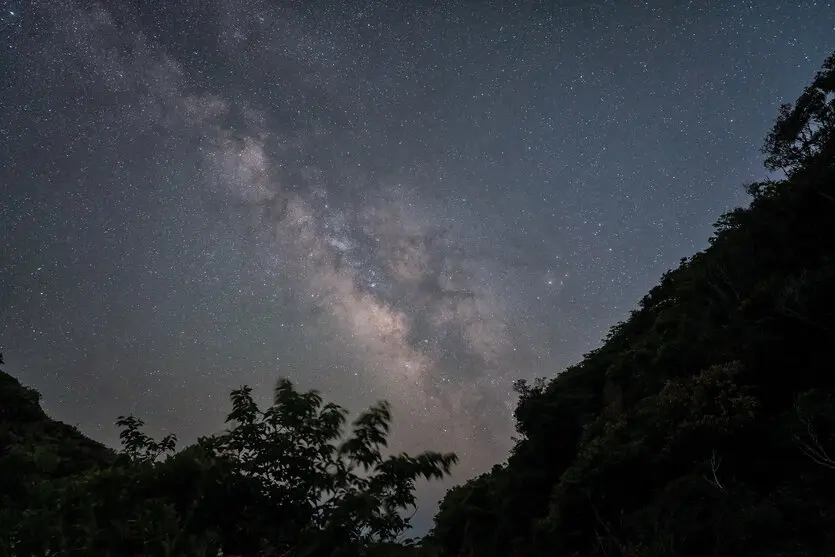
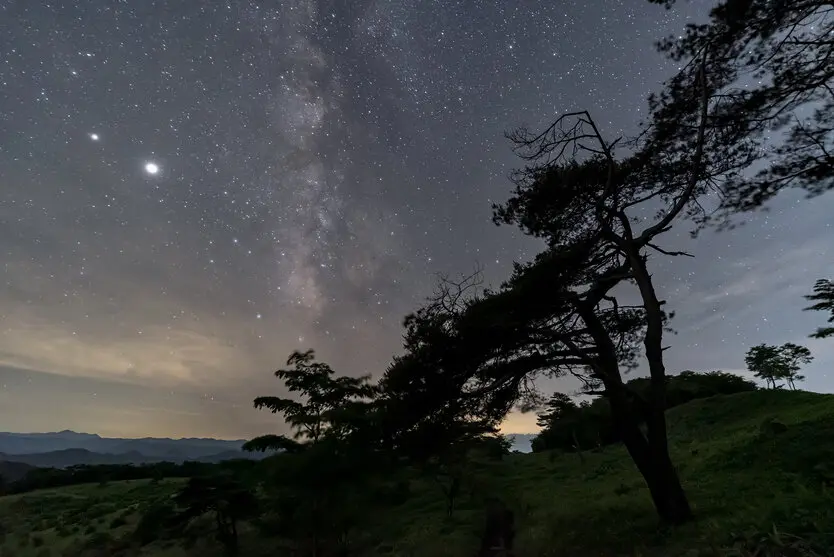
Capturing the Milky Way
The basic camera settings for photographing the Milky Way are the same as for general starry sky photography. However, since the light from the stars that make up the Milky Way is very weak, it is necessary to shoot in a spot where the Milky Way can be seen clearly with the naked eye. Therefore, basically, the candidates are places where there is very little light, such as mountainous areas or seashores far from urban areas.
In addition to normal starry sky photography, setting the ISO sensitivity to ISO 3200 to 6400 will make it easier to capture the faint light of the Milky Way. Also, a bright ultra wide-angle lens of about f/2 to f/2.8 is ideal.
How to Select the Right Lens for Starry Sky Photography
Selecting the right lens is crucial to capturing beautiful images of the starry sky. Here we introduce how to select the right lens for photographing the starry sky.
Focal length
A wide-angle lens is suitable for photographing the starry sky. If possible, it is recommended to choose an ultra wide-angle lens with a focal length of approximately 20 mm or less. By using a wide-angle lens, you can capture the vast starry sky in a single photograph.
Aperture F-number
For starry sky photography, which requires capturing weak light in dark areas, it is recommended to use the brightest lens possible. As a rule of thumb, choose a lens with a maximum aperture of f/2.8 or less. The smaller the maximum aperture F-number, the more light can be captured by the sensor and the brighter the starry sky can be captured.
Operability
Since starry sky photography is often done using manual focus (MF), it is important to check the operability of the focus ring.
It is also important to check whether the ring and switches can be operated smoothly even when a lens heater or other equipment is attached.
Size and weight
The weight and size of the lens are also important factors. Shooting starry skies often requires long hours, and you will need to carry the lens deep into the mountains or at high altitudes. A lightweight and compact lens is not only convenient to carry, but can also be taken out and photographed in a flash, making it easy to enjoy photography.
Try starry sky photography with appropriate lens selection and camera settings!
To take beautiful photos of the starry night sky, it is important to start shooting using general exposure settings as a reference and make adjustments as necessary. Various preparations are required, including equipment such as a wide-angle lens, tripod, and release, as well as the selection of a shooting location, but the excitement you feel when you are able to capture a beautiful starry sky is exceptional. Please refer to this article and try your hand at photographing beautiful starry skies.

Lens Featured in this Impression
-
-
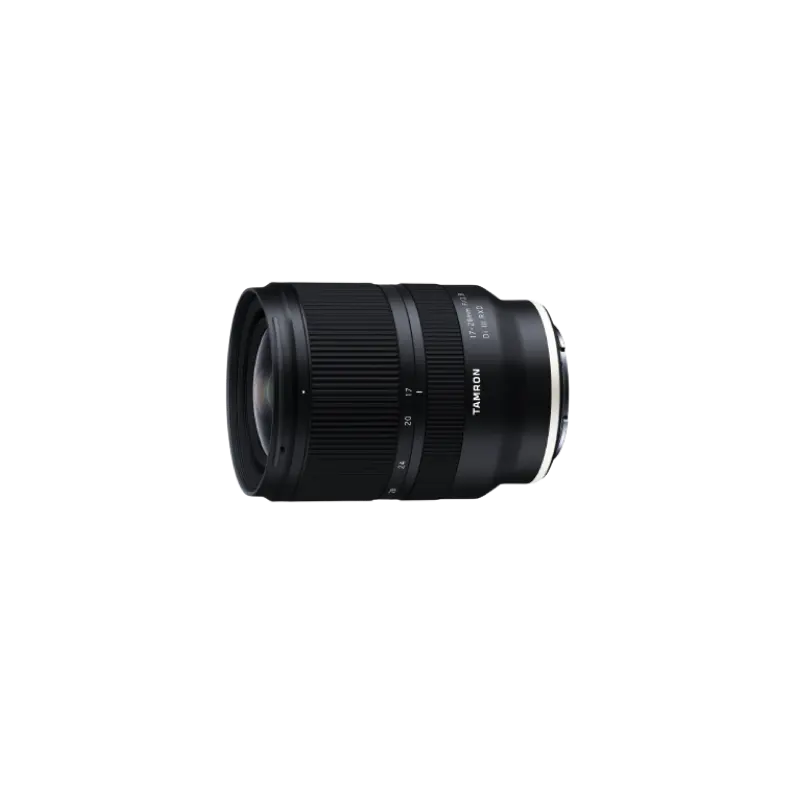
17-28mm F/2.8 Di III RXD a046(Model )
The 17-28mm F/2.8 Di III RXD (Model A046) achieves a filter diameter of ø67mm, which is surprising for a large aperture ultra wide-angle zoom lens for full-frame cameras. It’s small and light weight with a good camera balance. It's a dedicated lens for mirrorless interchangeable -lens cameras that can be carried easily and can be used in various situations.
-

-
20-40mm F/2.8 Di III VXD a062(Model )
The 20-40mm F/2.8 Di III VXD (Model A062) is a new large-aperture standard zoom lens that thoroughly pursues portability. While covering the range from the ultra-wide angle of 20mm to the standard range of 40mm, it is the smallest and lightest in its class. It also offers high image quality throughout the entire zoom range, making it useful not only for still image shooting but also for video recording such as vlogging. The VXD, which is quiet and agile, achieves high-speed, high-precision autofocusing. It is a new, unprecedented large-aperture standard zoom lens that allows users to easily enjoy taking out and shooting both still and video.
-

-
28-75mm F/2.8 Di III VXD G2 a063(Model )
Product Page | 28-75mm F/2.8 Di III VXD G2 (Model A063) is the second-generation fast-aperture standard zoom lens for Sony and Nikon full-frame mirrorless cameras, offering significantly improved optical and autofocus performance and new function customization.
-

-
11-20mm F/2.8 Di III-A RXD b060(Model )
Product Page | 11-20mm F/2.8 Di III-A RXD (Model B060) is the world's first compact, lightweight F2.8 ultra wide-angle zoom lens for Sony E-mount APS-C mirrorless cameras. Can be a great choice for video shooting.
-

-
17-70mm F/2.8 Di III-A VC RXD b070(Model )
The 17-70mm F/2.8 Di III-A VC RXD (Model B070) is a large-aperture standard zoom lens for APS-C format mirrorless cameras. With a focal length range of 17mm to 70mm (a full-frame equivalent of 25.5-105mm) for daily use, this achieves a 4.1x zoom. The optical design ensures high resolution and high contrast not just in the center of the image but also in corners and at the edges. The quiet AF drive motor and the VC image stabilization mechanism facilitate hand-held shooting. In addition, by counteracting focus breathing, the 17-70mm F2.8 empowers users' expression of their creative intentions to the fullest degree. This highly practical lens allows you to easily enjoy the high image quality of a large F2.8 aperture for both still and video shooting.

