January 31, 2025
Basic photography: Reasons for focus issues and how to adjust them
Basic photography: Reasons for focus issues and how to adjust them

When capturing a subject clearly in your shot, proper focus adjustment is essential. However, when using an interchangeable-lens camera, focus adjustments can become slightly complicated due to autofocus settings, distance to the subject, and angle adjustments. In this article, we will cover the basic knowledge required for achieving proper focus and provide tips for different types of scenes.
What does "In Focus" mean?
In photography, "in focus" means that the edges and details of the subject you intended to photograph are captured sharply. In theory, the focused range is a single plane, but in practice, there is a range in front of and behind the point of focus where the subject appears in focus. This range is called depth of field.
The depth of field is influenced by factors such as aperture (F-number), focal length, and shooting distance. For example, narrowing the aperture increases the depth of field, making objects further away appear in focus. Additionally, when using a telephoto lens and getting closer to the subject, the depth of field becomes shallower, narrowing the focused area and increasing background blur.
However, it’s important to note that focusing is not always the "right answer." Purposefully defocusing can create unique atmospheres or impressions. For example, in portrait photography, intentionally blurring the background or creating motion blur of a moving subject can add artistic effect.
Motion blur refers to the phenomenon that occurs when the shutter speed is slow, and the movement of the subject creates a trail in the photograph.
Why is the focus not sharp or appears blurry?
When shooting with an interchangeable-lens camera, it’s not uncommon to struggle with focus not being as expected. The causes of focus issues can be varied, stemming from camera settings, shooting techniques, or the subject itself. Below, we’ll explore some common causes for focus issues.
Focus is Off in front of or behind the subject

The first issue is when the focus shifts to the area in front or behind the intended subject. Often, the autofocus (AF) may not lock onto the exact point you want, leading to focus errors.
Additionally, if the lens you are using has a shallow depth of field, focusing becomes more difficult. This is especially true when shooting with an aperture close to wide open or using a telephoto lens, where the focused range becomes narrower and slight focus shifts are more noticeable.
When multiple subjects are present in the frame, it is crucial to clearly define the primary subject. By doing so, you can avoid a flat, two-dimensional appearance in the photograph and prevent the focus from shifting away from the intended subject.
Camera shake or motion blur of moving subjects
Camera shake and motion blur are common issues, usually related to shutter speed settings. A slower shutter speed makes blur more noticeable, so it’s essential to balance shutter speed with exposure.
As a guideline, it’s recommended to use a shutter speed faster than "1/focal length" to reduce camera shake. For example, when using a 200mm telephoto lens, the shutter speed should be at least 1/200 seconds. This is a general rule, so if you notice blur, try using a faster shutter speed.
The way you hold the camera is also an important point. Hold the camera firmly with both hands, keeping your elbows close to your body, and maintaining a stable posture. If necessary, lean against a wall or pillar to stabilize your body.
When photographing a moving subject, set the AF mode to continuous AF to ensure the focus follows the subject. This mode is useful for sports or wildlife photography where the subject is in constant motion.
AF is not enabled
It’s easy to overlook whether AF is enabled. Many cameras and lenses have an AF/MF (manual focus) switch, but even if the camera is set to AF mode, the lens may be set to MF, preventing the autofocus from working. Always check both the camera and lens to ensure AF is enabled before shooting.
Additionally, if the camera’s battery is low and it's not functioning properly, check the battery and have a spare on hand.
Too close to the subject
Lenses have a minimum focusing distance. If the subject is closer than the minimum focusing distance, the camera will not be able to focus. If you want to shoot close-ups, consider using a lens with a shorter minimum focusing distance or a macro lens.
Beyond checking the minimum focusing distance, pay attention to the shooting scene and location. For example, using a telephoto lens in a small indoor space may limit your ability to get the right distance and composition. Choose a lens with the appropriate focal length and minimum focusing distance based on your environment and subject.
AF doesn’t work well with certain subjects
While AF is essential for most photography, there are some scenes and subjects where it struggles. Most AF systems detect contrast to focus, but on subjects like plain white walls or clear blue skies, AF may not perform well. In such cases, it’s recommended to focus on areas with more contrast and use AF lock, or switch to manual focus (MF).
In extremely dark or backlit conditions, AF may also struggle. In such situations, using auxiliary lighting, changing angles, or switching to manual focus can help.
How to adjust focus effectively
Now, let’s explore the basic knowledge and tips for adjusting focus effectively.
Switching AF Modes According to the Scene
Adjust the AF mode according to the scene. Some common AF modes are:
Single AF
Best for stationary subjects. Once the focus is set, it stays fixed, making it ideal for landscape and still-life photography. It’s also useful for macro photography, where precise focusing is essential.
Continuous AF
This mode tracks the subject’s movement and adjusts focus accordingly. It’s indispensable for shooting fast-moving subjects in sports or wildlife photography.
Auto area AF
The camera automatically detects and focuses on the subject. This mode is great for quick shots, such as street photography, but may not always focus on the area you intend. For critical shots, consider using another AF mode.
Choosing the right AF area
The AF area represents the range where the camera will focus. Different AF areas suit different shooting scenes, so use the appropriate one. Here are some common AF areas:
Spot AF
This mode focuses on a single point. It’s useful for portraits, flowers, or any subject that requires pinpoint focus. It’s also ideal for wildlife photography where you want to separate the subject from the background.
Wide AF
This mode automatically detects and focuses on the subject from the entire frame. It’s useful for landscapes or snapshots where quick adjustments are needed. It’s also good for subjects like children or pets that are unpredictable in movement.
Zone AF
This is a middle-ground setting between Spot and Wide AF. It tracks subjects within a selected zone, ideal for sports photography where movement is somewhat predictable.
Face detection / Eye AF
Automatically detects faces and eyes and maintains accurate focus on them. This is especially useful for portraits and shooting fast-moving children.
Using focus lock

Focus lock is a key function for shooting with a desired composition. Typically, half-press the shutter to set focus, and keep pressing to lock it. This allows you to shoot even if the subject is not centered in the frame.
For example, when shooting portraits, focus on the eyes with the center AF point, half-press the shutter to lock, then adjust the composition.
When using wide apertures or macro photography, be aware of cosine errors, which can cause slight focus shifts.
Checking focus with live view
Use Live View to check focus on the LCD screen, especially with macro or landscape photography where precise focus is necessary. Use the magnification feature to check focus on fine details.
Manual focus (MF) tips
For scenes where AF struggles or when you want more creative bokeh, mastering manual focus (MF) is essential.
With MF, understanding the focus ring’s movement is crucial. Keep track of rotation direction and speed for smooth operation. Many mirrorless cameras magnify the display automatically when using MF, so take advantage of this feature.
While focusing, imagine finding the "focus peak" where the subject appears sharpest, then adjust slightly forward or backward to fine-tune the focus.
Examples of focus adjustment for different scenes
The appropriate focus adjustment varies by scene. Below are examples for specific situations.
Portraits

In portrait photography, focusing on the eyes is crucial. If your camera has Eye AF, this will make focusing on the eyes easier.
Background blur is also an important element in portraits. Using a wide aperture (F2 to F2.8) creates a strong blur, making the subject stand out. If focusing at wide apertures is difficult, stop down slightly for better focus.
Landscapes

In landscape photography, use a deeper depth of field (around F8 to F11) to capture sharp detail from the foreground to the background. If using a tripod, take advantage of Live View to fine-tune focus and exposure.
Sports

In sports photography, continuous focus is key for tracking fast-moving subjects. Use Continuous AF to follow the action, and try switching AF areas as needed—Spot AF for individual events and Zone AF for team sports. Combine with burst mode to capture decisive moments.
Low-light photography

In low light, focus on high-contrast areas to improve AF accuracy. If AF still struggles, switch to MF and use any assistive features to help with focus.
Close-up photography

For close-up shots, the depth of field is shallow, so use a slightly stopped-down aperture for better focus. In some cases, AF may struggle, so practice using MF. If you can use a tripod, magnify the view in Live View for better precision.
Choosing the right lens for focus
The focal length, aperture, and minimum focusing distance of a lens all play a role in focus. Here are some key points to consider when selecting lenses for different situations.
Prime lenses vs. Zoom Lenses
Prime lenses have fixed focal lengths, requiring you to adjust the distance between you and the subject to achieve the right composition and blur. This may require practice, but it will improve your focus adjustments over time.
Zoom lenses are versatile, allowing you to adjust the focal length on the fly. They are great for moving subjects or when space is limited.
Focal length
Wide Angle lenses (around 35mm or shorter) offer deep depth of field, making them ideal for landscapes and architecture.
Standard lenses (around 50mm) offer a natural perspective and are great for portraits and casual photography.
Telephoto lenses (around 80mm or more) capture distant subjects with sharpness and can create strong background separation.
Aperture (F-number)
Lenses with a small maximum aperture are great for low-light conditions and creating significant background blur, making them ideal for portraits and snap photography.
AF performance
Check the AF system’s performance for smooth and accurate focusing, especially for fast-moving subjects like sports, animals, or children.
Master focus adjustment by shooting in different scenes
Focus adjustment is a fundamental skill in photography. By mastering AF modes and understanding the focus techniques for various subjects, you can handle any situation. While theoretical knowledge is important, hands-on practice is key to perfecting your skills. Keep experimenting in different environments to develop your own focus techniques.

Lens Featured in this Impression
-

-
28-200mm F/2.8-5.6 Di III RXD a071(Model )
Tamron has distilled all the technical capabilities and know-how amassed over the last 28 years in its development of all-in-one zoom lenses into the creation of this 28-200mm F/2.8-5.6 Di III RXD (Model A071), designed exclusively. The lens has a large maximum aperture of F2.8 at 28mm wide end, which represents a world’s first* for all-in-one zoom lenses, and delivers high-level performance across the entire zoom range, from the 28mm wide-angle end to 200mm telephoto.
-
-
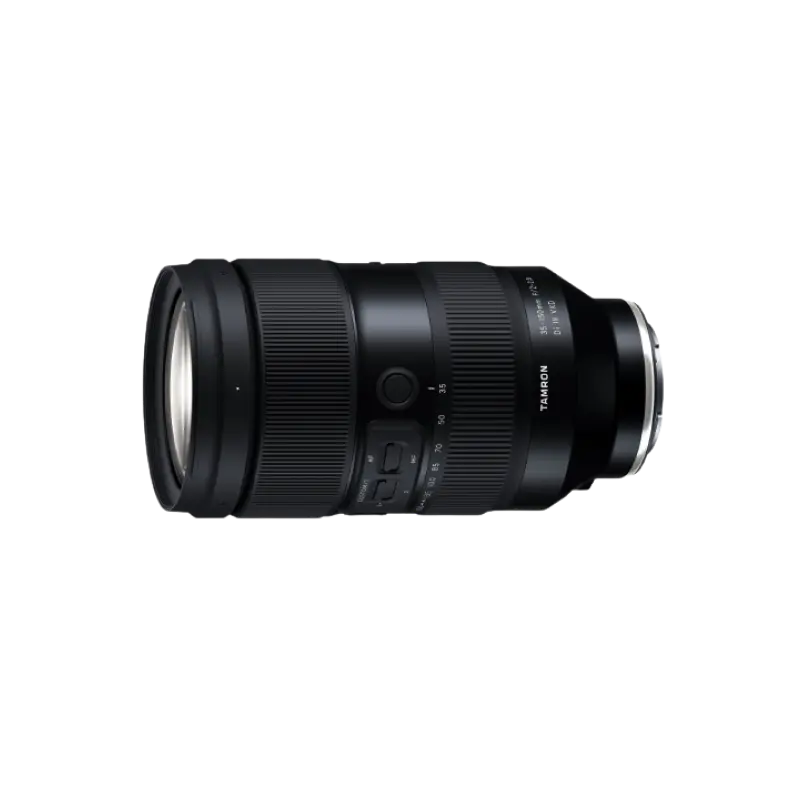
35-150mm F/2-2.8 Di III VXD a058(Model )
The 35-150mm F/2-2.8 Di III VXD (Model A058) is a high resolution travel zoom lens that covers everything from the 35mm wide angle to the 150mm telephoto focal length, the first zoom lens achieving an aperture of F2 at the wide angle end. It has a groundbreaking fast-aperture and utilizes the linear motor focus mechanism VXD (Voice-coil eXtreme-torque Drive), thereby achieving high speed, high precision autofocusing. The innovative lens design enabled us to greatly improve the lens's grip and functionality. The software, developed in-house, enables to easily customize functions and to update firmware.
-

-
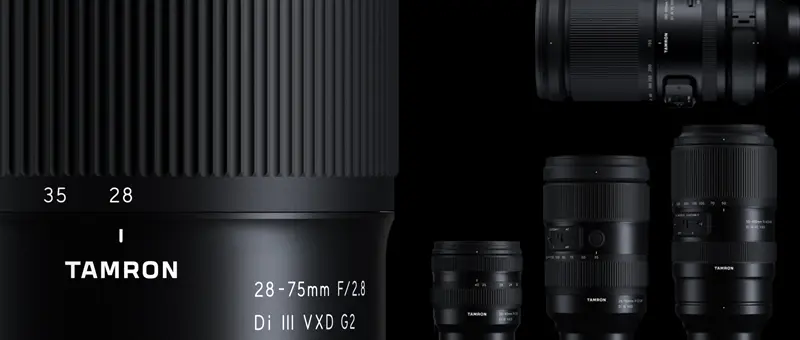
28-75mm F/2.8 Di III VXD G2 a063(Model )
Product Page | 28-75mm F/2.8 Di III VXD G2 (Model A063) is the second-generation fast-aperture standard zoom lens for Sony and Nikon full-frame mirrorless cameras, offering significantly improved optical and autofocus performance and new function customization.
-
-
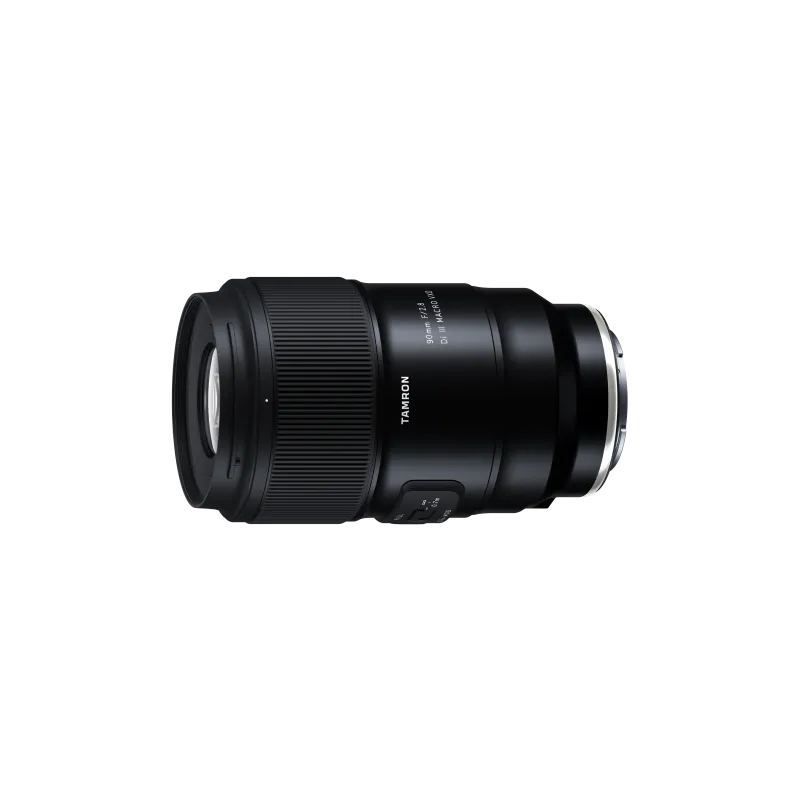
90mm F/2.8 Di III MACRO VXD f072(Model )
The 90mm F/2.8 Di III MACRO VXD (Model F072) is the mirrorless version of the TAMRON 90mm macro lens, beloved for many years. It offers outstanding resolution and optical performance, featuring TAMRON’s first 12-blade circular aperture for stunning bokeh and starburst effects. Its lightweight, compact design ensures easy portability, and the new hood with sliding window simplifies filter use. The lens is also compatible with TAMRON Lens Utility™ and has high-speed, high-precision AF, expanding possibilities for photography and videography. This lens blends TAMRON's legacy of brilliance with advanced technology, marking a new chapter in the 90mm macro lens history.
-

-
50-300mm F/4.5-6.3 Di III VC VXD a069(Model )
50-300mm F/4.5-6.3 Di III VC VXD (Model A069) is a 6x telephoto zoom lens for Sony E-mount that delivers outstanding convenience and image quality. Discover the groundbreaking capabilities of a 300mm telephoto zoom that starts from 50mm at the wide end.