February 26, 2025
What is the magic hour? Features of its beauty and tips for capturing it
What is the magic hour? Features of its beauty and tips for capturing it

The "magic hour" is a special time of day when you can encounter the most beautiful light. The gradient of the sunset itself is an artistic and beautiful subject, and portraits or snapshots taken in this light also become emotionally impactful works of art. This article introduces the unique characteristics of the magic hour, along with scene-specific photography examples.
What is the magic hour?

The magic hour typically includes two periods: the golden hour and the blue hour. Both offer soft, beautiful gradient lighting for photography. The golden hour creates a warm, emotional atmosphere, while the blue hour allows for a more dreamy, cool expression.
We will now explain the golden hour and blue hour in detail.
How the golden hour works

The golden hour occurs approximately one hour before and after sunrise and sunset, when the sun is near the horizon and the sky turns shades of orange and red. The soft light creates a gentle, warm impression of the subject and adds depth to landscape photos.
As the sun's altitude lowers, sunlight travels through a longer distance in the atmosphere, scattering blue light. This causes the light that reaches us to take on a warm, reddish tone.
Additionally, the low sun causes long shadows, giving subjects a sense of three-dimensionality. This characteristic allows for impressive photo expressions that are not possible during the day.
How the blue hour works

On the other hand, the blue hour happens when the sun has set below the horizon, and the sky turns deep blue or purple. The soft blue light creates a cool, dreamy atmosphere, making it a popular time for photographing landscapes and cityscapes.
After the sun sets, direct sunlight decreases, and scattered blue light in the atmosphere becomes more prominent. This causes the sky to take on deep blue or purple tones, creating a tranquil and mystical atmosphere.
Moreover, because the brightness of the sky balances with artificial lighting, this time is perfect for capturing cityscapes and illuminated buildings, creating photos with a cool and sophisticated vibe, unlike the daylight hours.
Tips for photographing during the magic hour
Here are some tips for making the most of the magic hour's unique light when taking photos.
Don’t forget preparation
Since the magic hour lasts for a limited time, preparation is key. If possible, scout the location in advance and check the direction of the sun and the ideal time for the view. Use smartphone apps to check sunrise and sunset times and arrive about 30 minutes to an hour earlier than the magic hour to prepare. Also, weather and humidity can change the expression of light, so be sure to check the forecast.
Recommended exposure settings
To capture the beauty of the magic hour light, proper exposure settings are essential. Adjust settings according to the changing light conditions as time progresses. Below are some guidelines:
Shooting mode
Start by shooting in aperture priority mode. This mode allows you to manually adjust the aperture (F-number), and the camera will automatically adjust the shutter speed to ensure proper exposure, allowing you to focus on focusing and bokeh. Once you become familiar with shooting, switch to manual mode to fine-tune the exposure.
F-number (Aperture)
Set the F-number according to the image you want to create. For landscape photos, where you want the whole scene to be sharp, F8 to F11 is typically ideal. However, since the magic hour often has relatively low light, be careful not to overexpose and underexpose your photos by using too small of an aperture.
On the other hand, for portraits where you want to emphasize the subject, a wide aperture like F2.8 or F4 can create beautiful bokeh.
Shutter speed
To avoid camera shake and capture sharp images, adjust your shutter speed to around 1/125 to 1/250 seconds. For night photography where a tripod is used, you can select a slower shutter speed, such as a few seconds.
ISO Sensitivity
To capture clear images with minimal noise, try shooting with an ISO sensitivity between 100 and 400. However, as the magic hour light tends to be dim, you may need to increase the ISO to around 1600 to 3200 if the image appears too dark.
Exposure compensation
During the magic hour, high contrast scenes, such as backlighting, can often occur. If the subject's face becomes too dark in portraits, increase the exposure compensation to brighten the details. Conversely, if you want to emphasize silhouettes or create a more subdued atmosphere, applying negative compensation is a useful technique.
Adjusting the white balance for color tone
To expand the expressiveness of the magic hour, you can also adjust the white balance. Start by shooting with auto white balance for natural rendering. As you become more comfortable, experiment with different white balance settings to find the look you prefer.
For example, setting it to "Cloudy" will enhance the reddish tones, accentuating the warm colors unique to the golden hour. On the other hand, setting it to "Tungsten" will emphasize the cool blues, making the blue hour even more striking. If you aim to create more professional work, shooting in RAW allows you to flexibly adjust white balance and exposure during post-processing.
Creating warm light with backlighting

When photographing subjects in backlight during the magic hour, the light becomes more striking and expressive.
In the golden hour, light scatters around the subject, creating a glowing, radiant effect. This is especially effective for portraits or architectural shots, where the subject is softly illuminated, creating a nostalgic and emotional atmosphere.
In the blue hour, backlighting creates a mystical impression with the deep blue background and light outlining the subject. The balance between the ambient light in the sky and artificial lights such as street lamps can further highlight the subject, adding sophistication and calmness to your photos.
Creative composition techniques
The beautiful light of the magic hour can be enhanced further with thoughtful composition. Below are some classic compositions and their key points:
Rule of thirds
In the rule of thirds, the frame is divided into three equal parts, and key elements are placed along these lines or at their intersections. For example, when shooting a sunset by the sea, placing the horizon along the bottom third will help balance the colorful sky and create a harmonious composition.
Diagonal composition
In diagonal composition, subjects are placed along the diagonal of the frame, giving the photo a sense of depth and movement. For example, using buildings, roads, or tree shadows can guide the viewer's eye across the frame, creating a dynamic visual experience.
A dramatic photo can be created by contrasting the sky and the landscape at dusk. Additionally, upward diagonals create a sense of openness, while downward diagonals bring stability. Use the appropriate one for the desired effect.
Central composition (Hinomaru composition)
In central composition, the subject is placed at the center of the frame, creating a straightforward and powerful expression. For instance, photographing a setting sun or a silhouette against the backlight with a central placement creates an emotional, simple photograph.
[Scene-specific] Tips for shooting during the magic hour
The magical light of the magic hour highlights the charm of various subjects. Below are some tips for shooting specific scenes during this time:
Portraits

For portraits, try shooting with backlighting. Hair and outlines will glow gold, creating a dreamy expression. The soft light naturally captures the skin and facial features. If the face becomes too dark, adjust the exposure compensation.
Consider using the rule of thirds to make use of negative space. This will create dramatic silhouette photos, as well as close-up shots.
Landscapes

With a wide-angle lens, you can capture the beautiful gradient of the sky and the landscape that is characteristic of the magic hour. By placing objects like rocks, trees, or buildings in the foreground, you can express depth in the photo.
Sunset and nightscapes

The magic hour is also an ideal time for capturing sunset and nightscapes. Be mindful of the contrast between building lights and the colorful sky at sunset when composing your shots. Using a tripod for long exposures allows you to capture even the faintest lights. You can also photograph the light trails of moving cars.
Street photography

For street photography, observe how the light from the sunset creates patterns and contrasts, as well as the shadows cast by the subject. Side lighting creates a nostalgic atmosphere that is not possible with daylight.
Using backlighting for silhouettes creates an emotional effect, especially when combined with the warm light of sunset. Incorporating long shadows unique to the magic hour adds a storytelling quality to your photos.
Vehicles
The magic hour light is also effective for photographing vehicles, such as cars, trains, and airplanes. Light coming in from a diagonal angle highlights the contours of the vehicle, creating a more appealing texture.
For airplane shots, the reflection of the sunset on the aircraft’s body provides a dramatic accent. The contrast between the runway lights and nature can bring dynamic energy to an otherwise tranquil sunset scene.
Lens selection Tips
Here are some tips for selecting the right lens for your scene, ensuring you can express the beauty of the magic hour's light vividly.
Wide aperture
Since the magic hour often has limited light, a lens with a wide aperture (such as f/2.8) makes it easier to shoot in low-light environments and capture bright photos. Using a wide-open aperture for large background bokeh creates a dreamy, magical effect.
Focal length
Choose a lens with the appropriate focal length based on the subject and the effect you want. Wide-angle lenses are great for landscape photography, capturing expansive sunsets and vast landscapes. Telephoto lenses allow you to isolate distant subjects like buildings or vehicles and capture beautiful bokeh in portrait shots. Standard lenses provide a natural perspective and are ideal for street photography and portraits.
Lightweight and compactness
Since you may need to move around to different locations during the magic hour, the portability of your lens is essential. Lightweight, compact lenses are convenient for travel and capturing shots at popular photography spots.
Autofocus (AF) performance
Ensure that the autofocus (AF) performs accurately and quickly, especially in low-light conditions. Also, if you're photographing moving subjects, ensure the lens has good tracking performance.
Image stabilization
Image stabilization helps reduce camera shake when shooting handheld, especially in low positions or high angles. This is crucial for magic hour photography, where you may need to slow down the shutter speed to capture more light.
Capture beautiful photos with magic hour light
The magic hour offers a special time of day to capture beautiful gradient lighting. By utilizing the soft, warm light and the fleeting deep blue of this time, you can transform everyday landscapes into striking images. Try capturing the beautiful light of the magic hour and express its unique qualities through your photos.

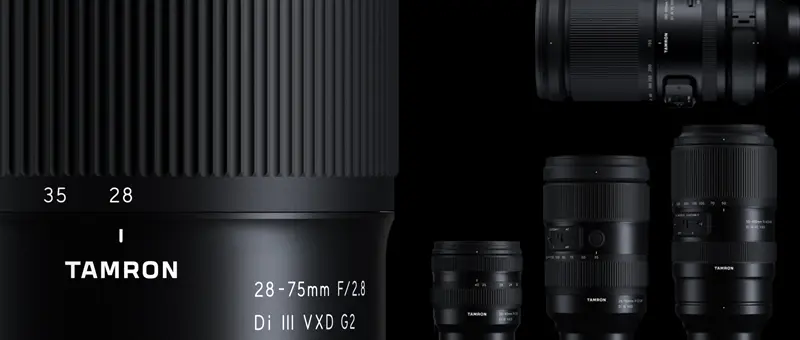
Lens Featured in this Impression
-

-
70-300mm F/4.5-6.3 Di III RXD a047(Model )
The 70-300mm F/4.5-6.3 Di III RXD (Model A047) for full-frame mirrorless cameras is a telephoto zoom lens designed and created so photographers of all skill levels can enjoy high quality images comfortably. The 70-300mm F4.5-6.3 covers a broad telephoto zoom range yet is the small and lightest weight. With special emphasis on resolving power, TAMRON has deployed special lens elements appropriately arranged to correct chromatic aberration, generally very strong in a telephoto lens, as well as other aberrations. Users can enjoy high-resolution images combined with stunning bokeh qualities that are achievable only with a telephoto lens. The lens also incorporates the RXD, a high-speed precision AF drive system that is remarkably quiet. The 70-300mm F4.5-6.3 is a versatile lens for photographing landscapes, sports and other action, pets, wildlife, and more. The lens also demonstrates its potential for portrait shooting, casual snapshots, and scenarios that require you to be mobile and shoot handheld, like sporting events.
-

-
28-200mm F/2.8-5.6 Di III RXD a071(Model )
Tamron has distilled all the technical capabilities and know-how amassed over the last 28 years in its development of all-in-one zoom lenses into the creation of this 28-200mm F/2.8-5.6 Di III RXD (Model A071), designed exclusively. The lens has a large maximum aperture of F2.8 at 28mm wide end, which represents a world’s first* for all-in-one zoom lenses, and delivers high-level performance across the entire zoom range, from the 28mm wide-angle end to 200mm telephoto.
-
-
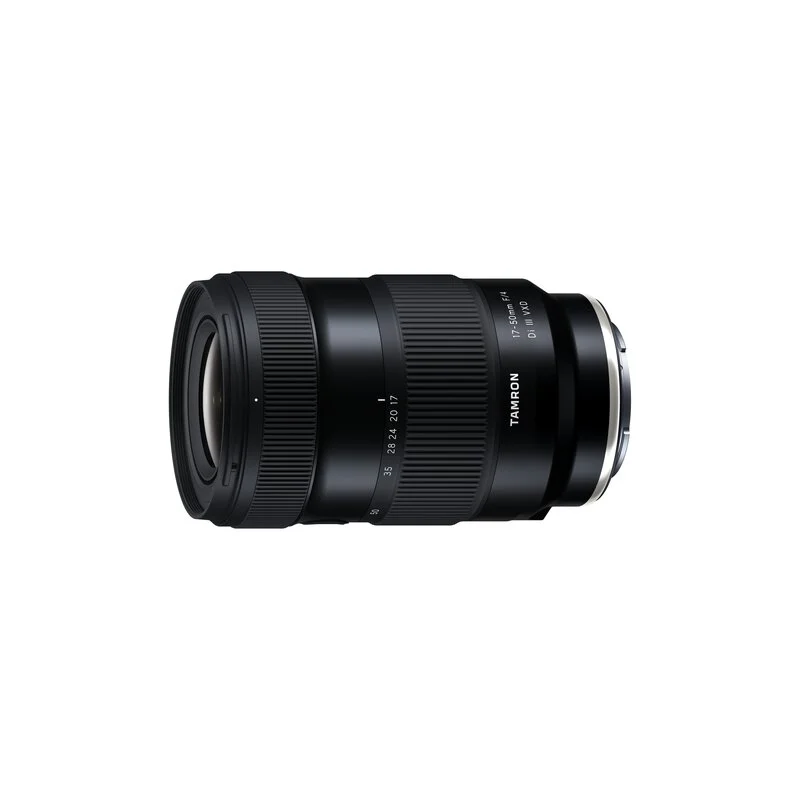
17-50mm F/4 Di III VXD a068(Model )
It's the world’s first lens covering from ultra wide-angle 17mm to the standard 50mm focal length. The highly-compact TAMRON 17-50mm F/4 Di III VXD (Model A068) for Sony E-mount full-frame mirrorless cameras offers maximum versatility for still and video creators. From landscapes to living rooms, this lens captures all that you see.
-
-
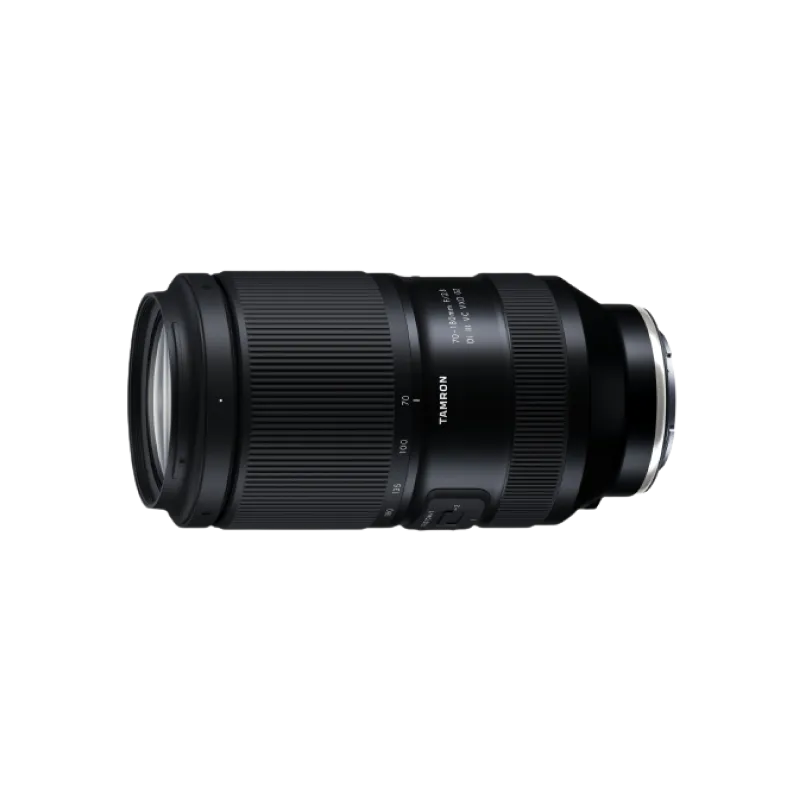
70-180mm F/2.8 Di III VC VXD G2 a065(Model )
70-180mm F/2.8 Di III VC VXD G2 (Model A065) has evolved to G2 level.This is the world’s smallest and lightest, fast-aperture telephoto zoom lens for Sony E-mount with astounding portability and superb image quality.
-
-
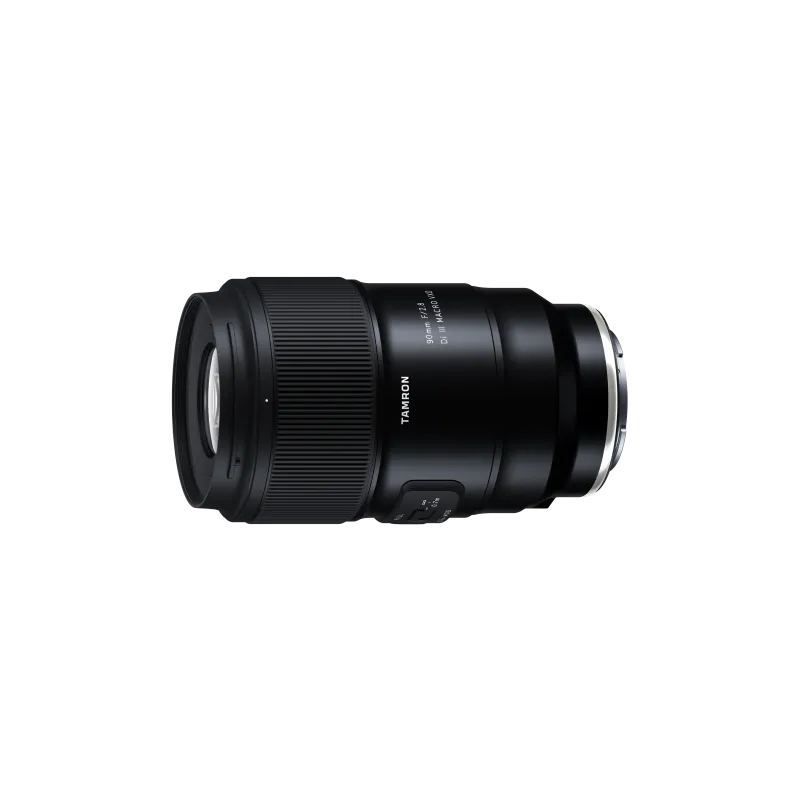
90mm F/2.8 Di III MACRO VXD f072(Model )
The 90mm F/2.8 Di III MACRO VXD (Model F072) is the mirrorless version of the TAMRON 90mm macro lens, beloved for many years. It offers outstanding resolution and optical performance, featuring TAMRON’s first 12-blade circular aperture for stunning bokeh and starburst effects. Its lightweight, compact design ensures easy portability, and the new hood with sliding window simplifies filter use. The lens is also compatible with TAMRON Lens Utility™ and has high-speed, high-precision AF, expanding possibilities for photography and videography. This lens blends TAMRON's legacy of brilliance with advanced technology, marking a new chapter in the 90mm macro lens history.