-
Test Plates
Master Test Plates
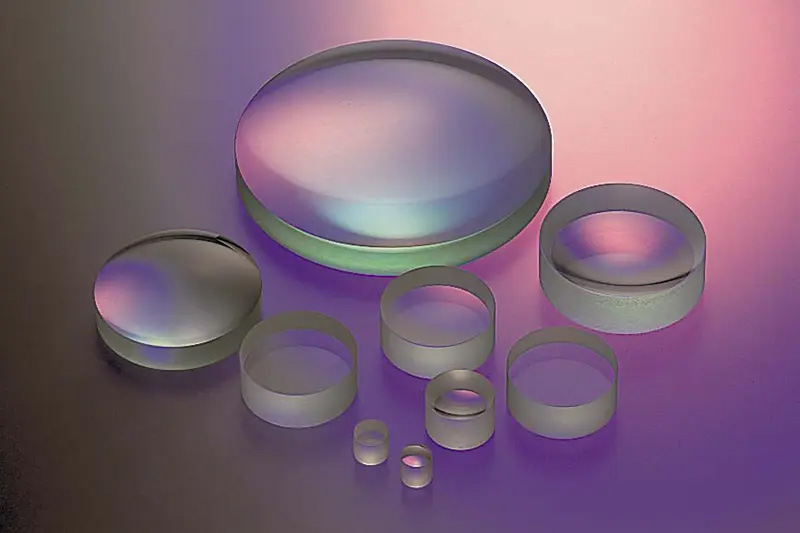
A pair of Test Plates constitutes the master standard for curvature and/or perfect flatness. Spherical Test Plates consist of a concave and convex pair, while Flat Test Plates are comprised of three flat plate units.
Production Test Plates
A set of Test Plates is used for inspection of lens elements at the production line. It is replicated from the master. As the pertinent surface sustains wear and tear and/or damage after a period of use, a precisely replicated replacement is produced from the very same master.
Tolerance
TAMRON's Test Plates are produced in conformity with tolerances as specified below:
This table lists the curvature and curvature precision of master test plates currently owned by TAMRON.
We also manufacture master test plates, production test plates, and Δh test plates.
Note that master test plates manufactured by TAMRON are built to levels of precision within the tolerance range shown in the following curvature table.
Inquire separately if you wish other specifications.
| Category | Diameter | Surface Accuracy | |
|---|---|---|---|
| Radius | Tolerance | ||
| Spherical Test Plates | 1mm~150mm | 200mm以下 | ±0.02% |
| 201mm~500mm | ±0.03% | ||
| 501mm~3000mm | ±0.05% | ||
| 3001mm~6000mm | ±0.1% | ||
| 6001mm~9999mm | ±0.2% | ||
| 10000mm~19999mm | ±200m/m | ||
| 20000mm~29999mm | ±300m/m | ||
| 30000mm~39999mm | ±500m/m | ||
| 40000mm以上 | TBD | ||
| Flat Test Plates | 5mm~300mm | ∞ | |
*Product curvature values were found at TAMRON.
*Let us know in advance if you will be confirming curvature precision at your business after product delivery.

